Regardless of what you're recording, there’s always the risk that your audio ends up sounding like it was captured on a windy street corner instead of in a calm, quiet room.
But, the good news is that cleaning up that audio doesn’t mean spending hours scrubbing through the file or investing in expensive gear you’ll barely use.
Below, we'll walk you through how you can remove background noise in just a few clicks, and the results are often good enough to pass for a studio session (and then dig into some handy tips and advice on audio quality.)
How Remove Background Noise in Podcastle
In just a matter of a few minutes (and a a couple of clicks), you can get any recorded audio to sound like it came out of a professional studio. No background noises, strange fillers, or awkward pauses. Here's how to get it done!
Step 1: Open Podcastle and Upload Your Audio
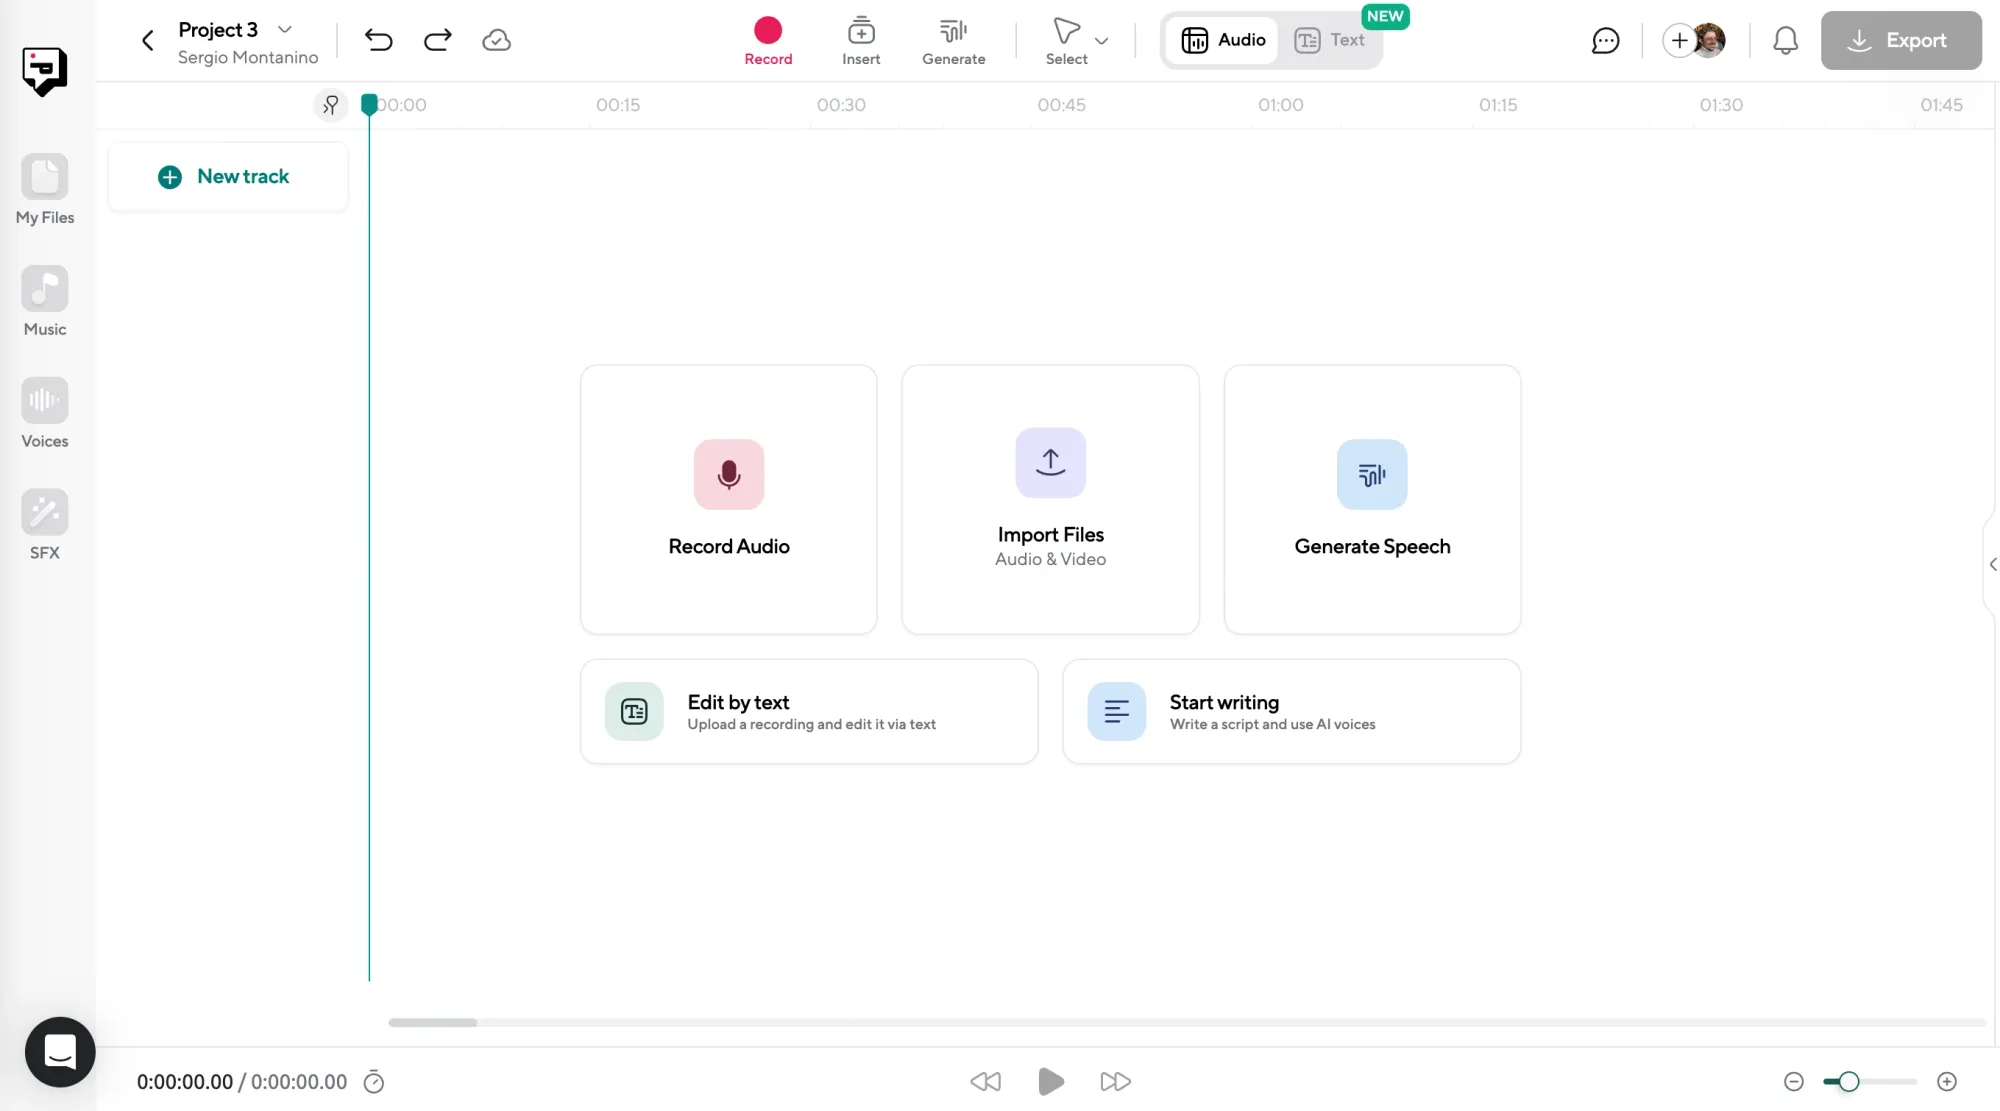
Start by heading to Podcastle.ai and opening your project. You can upload any audio file you’ve recorded, whether it’s an interview, a solo monologue, or something you captured on your phone while walking outdoors. Podcastle also supports a range of audio file formats, so you won’t need to convert anything beforehand.
Step 2: Use the AI Assistant (Magic Dust)
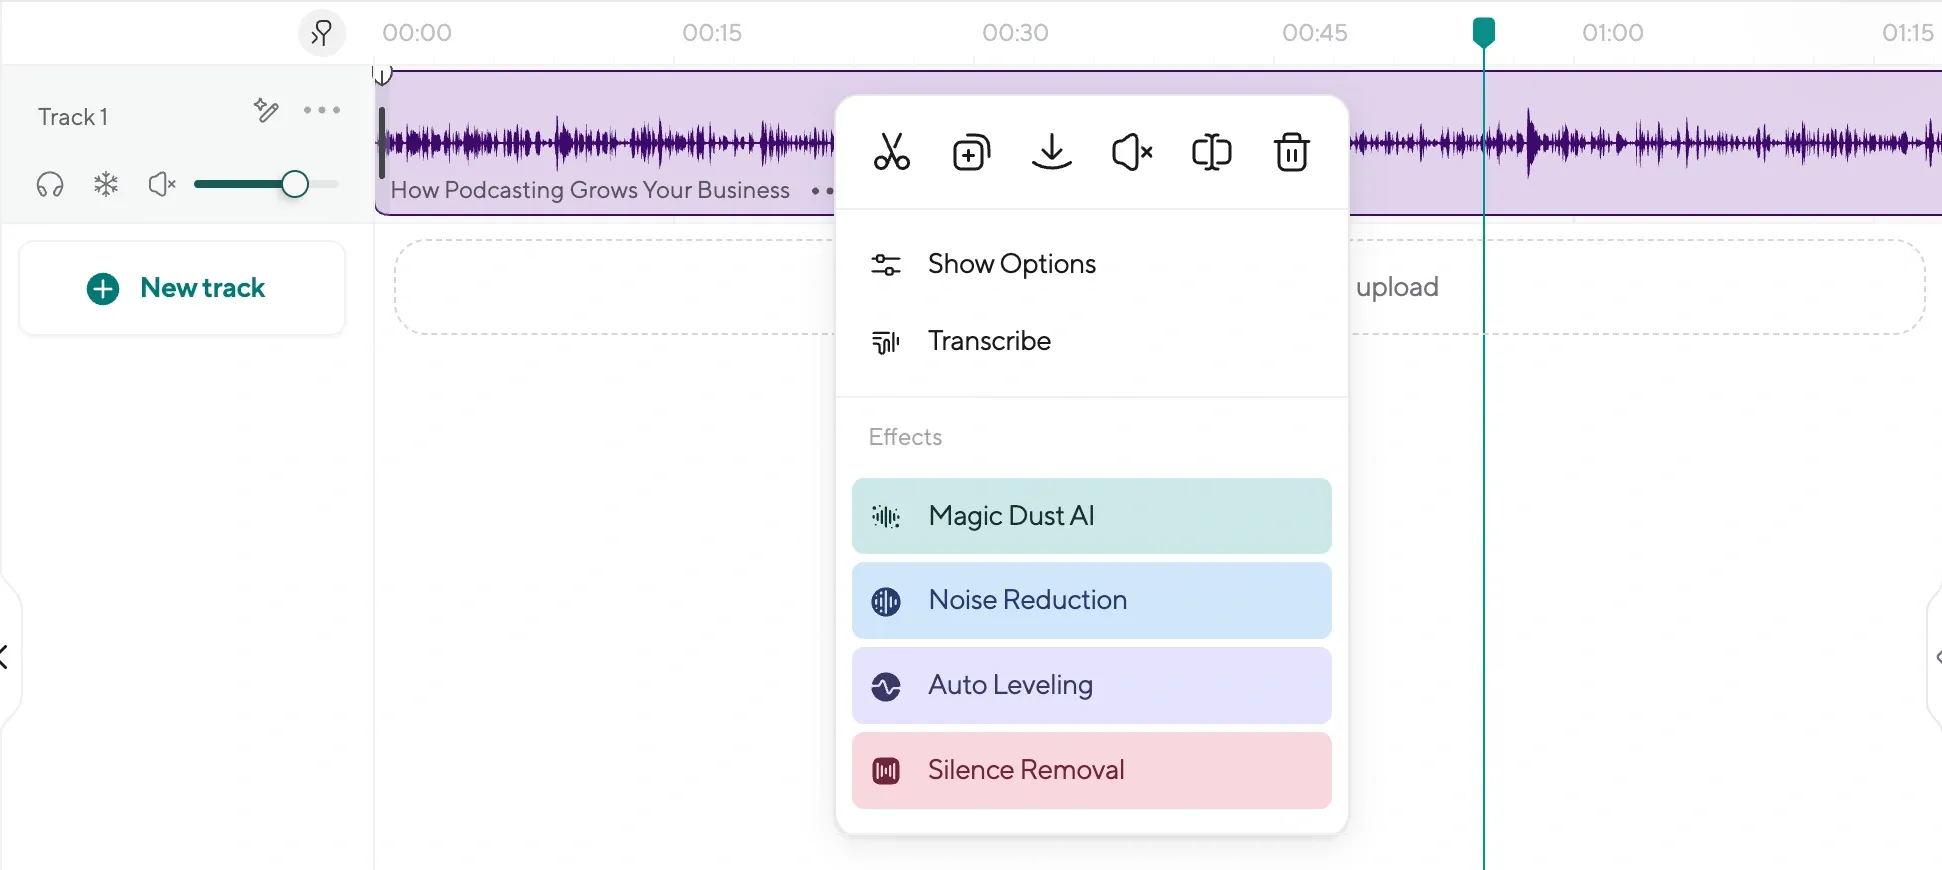
Once your file is uploaded, click on “AI Assistant” in the top menu bar. This is where the magic happens (pun intended). You’ll see a feature called Magic Dust, which was designed specifically to clean up audio by removing background noise, balancing levels, and generally giving your voice that polished, podcast-ready sound. One click is all it takes. Behind the scenes, Magic Dust analyzes your audio and applies noise reduction, EQ, and enhancement filters that are normally reserved for professional engineers.
Step 3: Make Edits, Add Extras, and Export
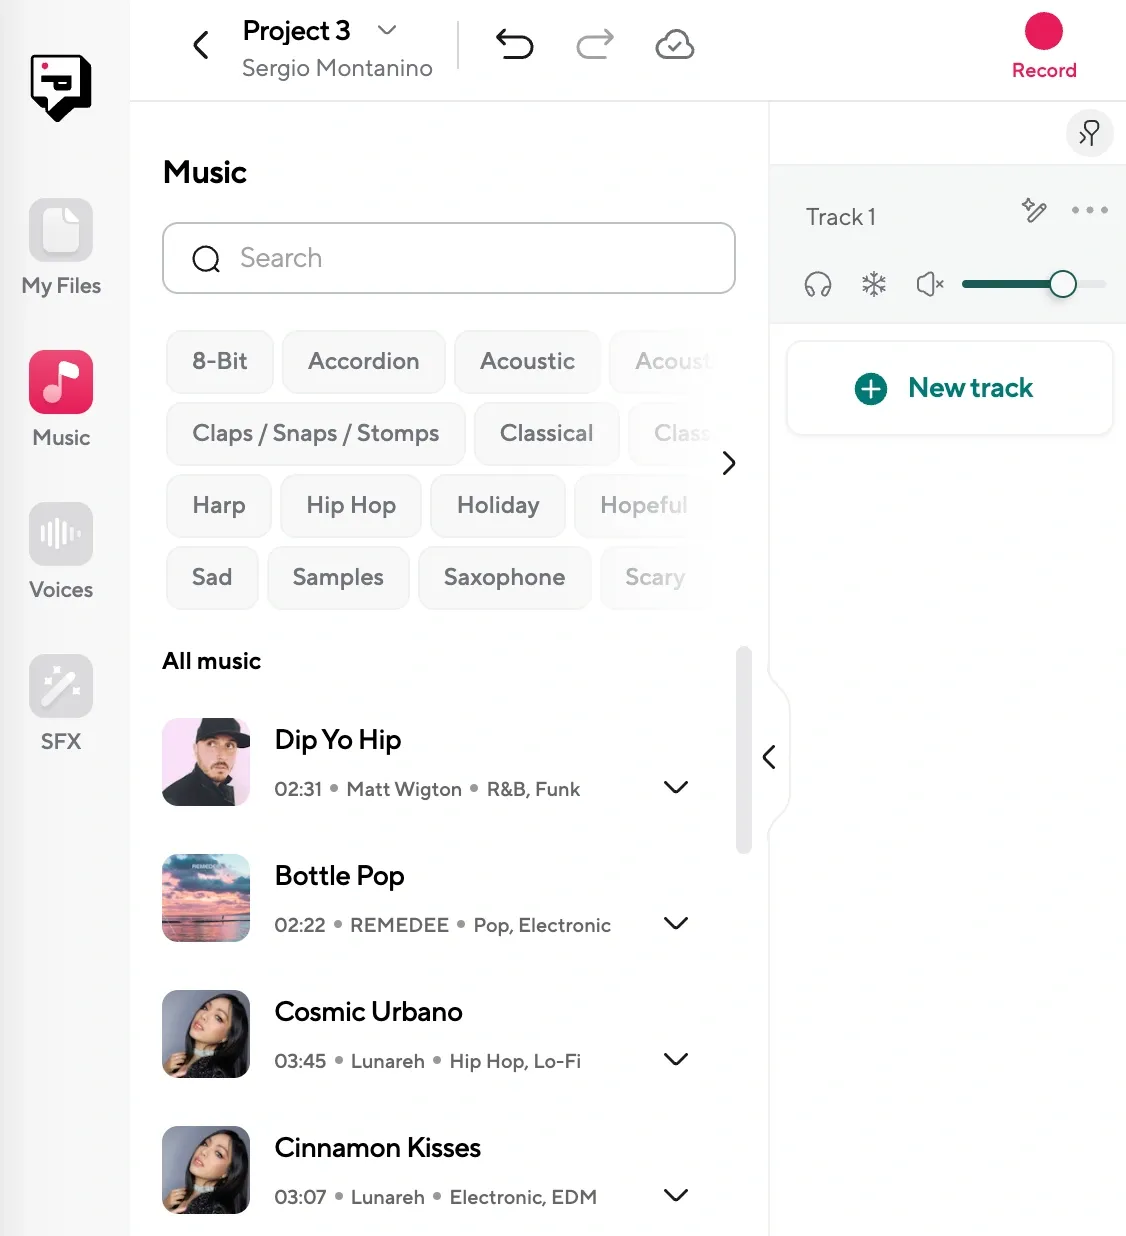
Now that your audio’s sounding smooth, you can do a bit of fine-tuning if you like. Use the waveform editor to trim out awkward pauses, stitch clips together, or cut filler words. You can also add music from Podcastle’s royalty-free library, or even record an AI voiceover using one of Podcastle’s 1000+ realistic AI voices. When you’re happy with how it sounds, click “Export”, choose your preferred file format (WAV, MP3, etc.), and you’re done.
How to Avoid Background Noise in Audio
- Find the quietest space you can, even if it’s weird. A closet full of clothes will sound better than an open living room. Soft surfaces absorb reverb, and smaller spaces usually mean less echo.
- Turn off anything humming, buzzing, or clicking. Fridges, fans, old laptops, light fixtures. You tune them out while talking, but the mic doesn’t. It hears everything. Unplug what you can. Even placing a towel under your laptop fan can help reduce low-end hum.
- Keep your mic steady and consistent. If you’re using a handheld mic or recording on your phone, don’t move it around while you talk. Small shifts in distance can cause huge differences in volume, which makes cleanup harder later.
- Wear headphones if you’re recording a conversation. Open speaker audio will leak into your mic and cause echo or feedback. Headphones keep everyone’s voice isolated, which gives you cleaner tracks and fewer problems later.
- Record a short test first. Don’t wait until the full episode is done to realize there’s a buzz in the background or your mic wasn’t selected. Record 10 seconds, listen back, and adjust from there. That one step can save hours spent on post-editing.
When to Remove Background Noise from Audio
Before you start thinking this kind of cleanup is only useful for podcasters or professionals with a setup, it’s worth knowing who’s actually using tools like this on a regular basis. The truth is, a lot of people record in less-than-ideal conditions, using whatever gear they have on hand.
These are the kinds of situations where an AI background noise remover becomes super convenient.
1. Recording in a Noisy Environment
Maybe you live near a busy road. Or your neighbors have loud kids. Or the only time you have to record is when the washing machine’s running and the dog decides to bark at every sound in the hallway. This is the kind of thing that makes people give up before they even get started. But a lot of creators in exactly this situation are still making good stuff by relying on AI audio background removers to do the cleanup.
2. Recording on the go
Not everyone has a home setup. Some people record voiceovers in their car during lunch breaks. Others walk and talk into their phone mic because the idea came to them mid-commute. These are the kinds of recordings that feel unusable at first. But with AI background noise removers, you can clean them up enough to make them shareable, usable, and in many cases, surprisingly clear. It gives creators the freedom to record when and where ideas hit, not just when the room is quiet.
3. Lacking proper equipment
You don’t have a fancy mic. You’re using your laptop’s built-in microphone or recording straight into your phone. There’s no soundproofing. No pop filter. No audio interface. And you’re not about to spend a few hundred dollars on gear just to make one video or try out a podcast idea you’re not even sure you’ll keep doing.
AI gives people working with bare-minimum setups a way to sound decent. Not perfect, but good enough that listeners focus on what you’re saying instead of how it sounds. And for a lot of creators, that’s the difference between starting something and never hitting record.
Advanced Audio Editing Tips in Podcastle
- Use AI voice cloning to fix mistakes without re-recording. If there’s a part of your recording where you stumbled, or a sentence dropped out because of mic issues, you can highlight that section, type what you meant to say, and use Podcastle’s AI voice cloning to fill it in. You can even match the tone and pacing so it doesn’t feel jarring or out of place.
- Add low background music to keep listeners engaged. Sometimes, even the cleanest voice recordings feel a little flat on their own. Adding soft music underneath, especially during intros or transitions, can make the entire piece feel more polished without distracting from the voice.
- Balance volume manually after Magic Dust. Magic Dust handles a lot automatically, but sometimes one clip still sounds louder or quieter than the rest. You can use the volume control on individual tracks to even things out and make sure the whole project feels level from start to finish.
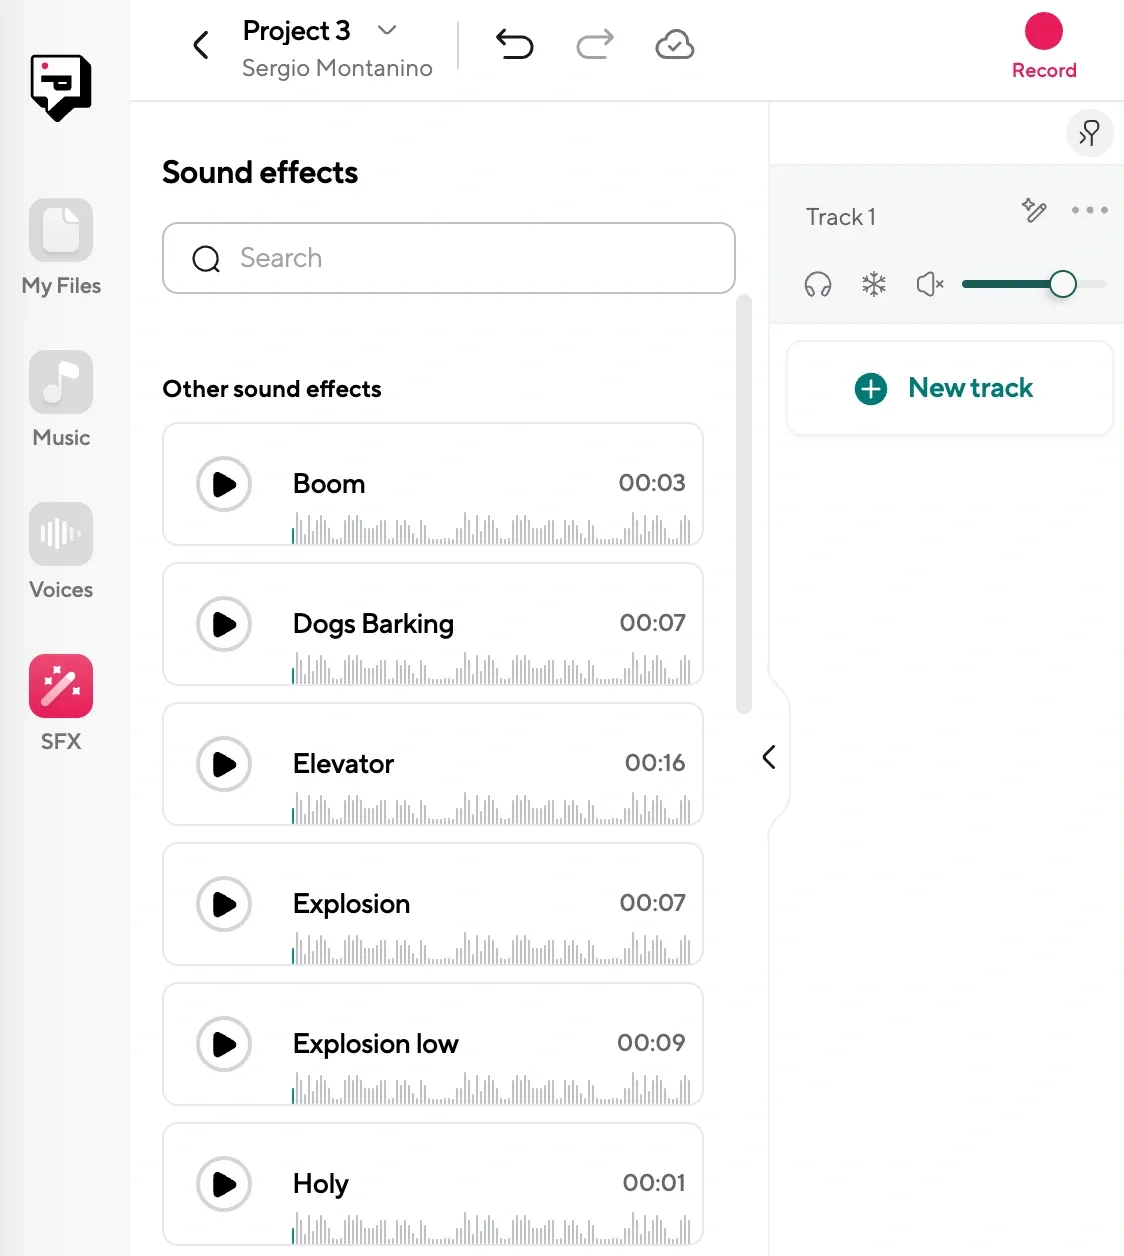
- Layer voiceovers with other tracks for more complex edits. If you’re building a multi-voice project, like a scripted video or narrated slideshow, Podcastle lets you layer tracks directly. That means you can add voiceover, music, sound effects, and more without needing another editing app. Everything stays in one timeline, which makes it easier to stay organized.
Final Thoughts
If you’ve made it this far, you know how to clean up background noise in just a few clicks using Podcastle, and you’ve seen what else you can do once the audio’s clean. You’ve got a solid understanding of how to make recordings sound smoother, how to edit without rerecording everything, and why sometimes it’s okay to leave a bit of mess in for texture.
You’ve also seen that most people don’t have a perfect setup. They record with cheap mics, in loud homes, or on the go, and they still manage to publish good work. Not because they’re lucky or have better gear, but because they know how to work with what they’ve got, fix what they can, and move forward.
So if you’re stuck waiting for perfect conditions, don’t. Record the thing. Clean it up. See what happens.