You’ve got the idea, the footage’s looking solid, and the edit’s ready to go. So you post it to Instagram, then realize something feels off.
Maybe your captions are cut off. Maybe the whole frame looks smaller than you expected. Or the quality drops the second it loads. Whatever it is, the final result doesn’t match what you had in mind.
A lot of creators run into the same thing. They focus on content first, format second. But on Instagram, size matters. How your video is framed (and how well it fits the platform) can change everything. From how it looks on-screen to how many people actually watch it.
Let’s break down the best video sizes for every Instagram format, including Reels, Stories, Feed videos, and Lives. We’ll cover exact specs and how to work smarter with tools like Podcastle to get your videos looking clean and sized right every time.
Why Instagram Video Size Matters
Instagram is built for scrolling. Quick decisions. Fast impressions. And most of those decisions are made visually. Before anyone decides whether they care about your message, they’re noticing how your video fits their screen.
If your content looks blurry, cropped in the wrong place, or surrounded by black bars, it signals that something’s off. That’s usually enough for someone to swipe past. The algorithm notices that too, and once your engagement drops, your reach usually goes with it.
There’s also compression to deal with. If your video doesn’t match the recommended size, Instagram will try to fix it on its own, which sounds like a good thing, but oftentimes it leads to fuzzy resolution or stretched frames because the adjustment isn’t perfect. And because of it, sometimes your edits get thrown off completely, especially if you’ve placed text near the edges.
If you’re juggling different types of content, aspect ratio can quietly mess with your workflow. A widescreen Story won’t look right as a Reel. A Reel designed for vertical might not sit well in your feed. Every format comes with its own layout, and your content performs better when it matches the space it’s made for.
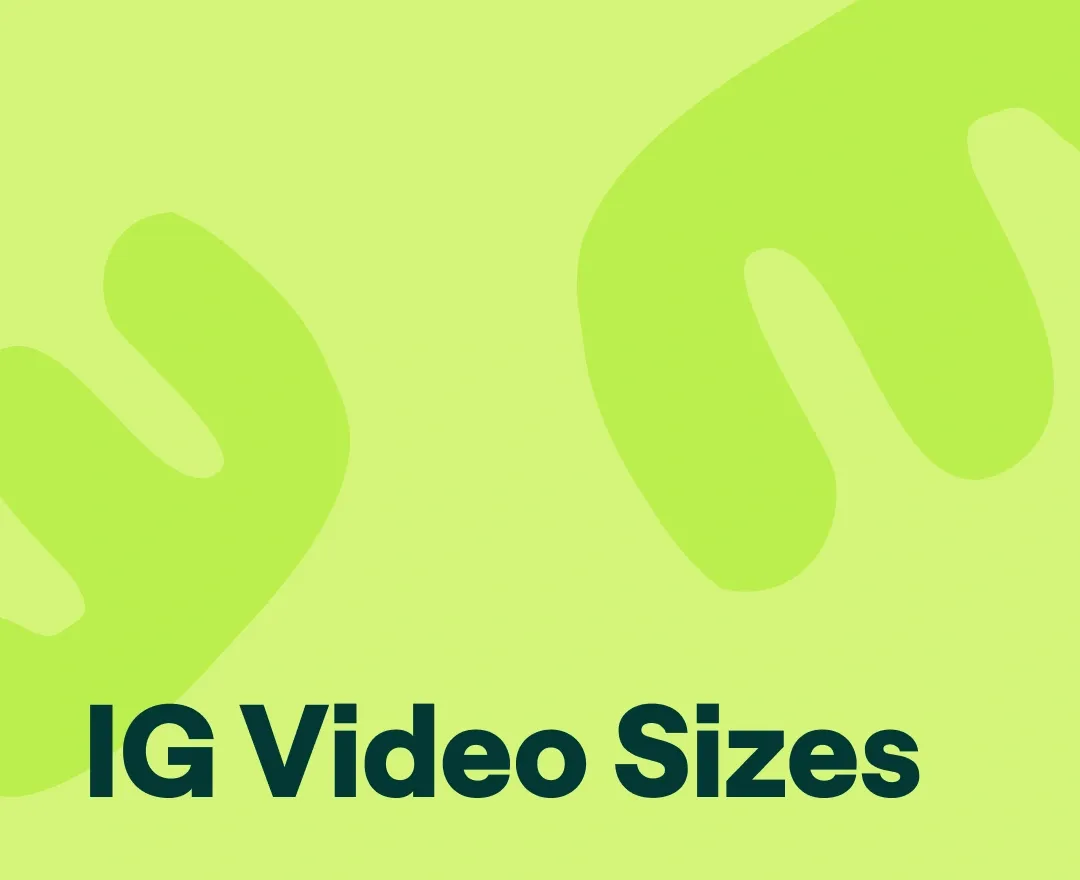
Full Instagram Video Size Breakdown by Format
Let’s break down every Instagram video format, one by one, so you know exactly what dimensions to aim for, how to avoid quality drops, and when to experiment with style.
1. Instagram Feed Video
Recommended ratio: 4:5 (portrait) or 9:16 (full vertical)
Other options: 1:1 (square), 16:9 (landscape)
Max video length: 10 minutes
File size limit: 4 GB
Resolution: Aim for 1080 x 1350 pixels for 4:5 and 1080 x 1920 for 9:16
Feed videos are what people see when scrolling through your profile or homepage. And while 1:1 used to be the go-to, vertical formats like 4:5 and 9:16 are now the most popular aspect ratios since the push for Reels happened.
If you’re repurposing from YouTube or a camera setup with a wide frame, 16:9 can still work, but it might look distant or boxed in. For better engagement, go with 4:5 when creating natively, and keep captions away from the top and bottom edges.
2. Instagram Reels
Ideal ratio: 9:16 (full vertical)
Also used: 1:1 and 4:3, depending on creator style
Max video length: 180 seconds
Resolution: 1080 x 1920 pixels is your best bet
Reels are designed for full-screen, vertical swiping. That makes 9:16 the safest choice, especially if you’re aiming for reach and want your video to feel smooth within the interface.
That said, you’ve probably noticed some Reels using square or even old-school 4:3 footage. Content creators with vintage aesthetics, cinematic storytelling, or a slower-paced vibe often lean into 4:3. It gives the content a nostalgic, curated feel, especially when paired with textured overlays, voiceovers, or specific background music. 1:1 is still used, too, especially for brand posts, simple edits and memes.
Instagram will display these ratios inside the 9:16 Reels player, so there will be extra space above and below your content. But if your videos are compelling, that empty space won’t harm your engagement, and in the best case scenario, it can help focus the viewer on your content.
Just keep in mind: Reels content still lives inside a vertical world. So if you’re using 1:1 or 4:3, leave some breathing room. Avoid stacking important text or visuals near the top and bottom where Instagram might overlay buttons or crop things out.
3. Instagram Stories
Recommended ratio: 9:16 (full vertical)
Max video length per Story slide: 60 seconds
Resolution: 1080 x 1920 pixels
Stories move fast, both in style and in shelf life. They last 24 hours, and most people swipe through them in seconds. That makes them perfect for quick announcements, real-time updates, or interactive moments like polls and questions.
The 9:16 ratio is the default here. Instagram expects full-screen content, and anything less might feel incomplete. But there’s a catch: Instagram places buttons, usernames, and reply boxes at the top and bottom. So if you’re adding text or links to your video, you can leave a little breathing room.
Stories work best when they feel casual and immediate. You don’t need a big production. A simple vertical clip shot on your phone, cleaned up with better audio and subtitles, can do the job beautifully. In many cases, all you might need is an image, a poll, or something much more minimal.
4. Instagram Live
Aspect ratio: 9:16 (automatically set by Instagram Live)
Max length: Up to 4 hours
Resolution: Depends on connection and device
Lives are a different game. You’re on-camera, unedited, and interacting in real time. That can feel exciting or terrifying depending on your comfort level or if you’re camera shy. But when done right, Lives help you connect with your audience in a way that’s hard to replicate elsewhere.
Since Instagram handles the framing automatically, your focus should shift to everything else: lighting, sound, and setting. Use a ring light or face a window so your shot doesn’t look grainy. Make sure your audio is clean, or plug in a mic if you’re planning to talk a lot. And, most importantly, check your Wi-Fi before you hit the “Go Live” button to avoid any lag.
After the stream ends, you don’t have to let that content disappear. Save the recording and repurpose the best moments into Reels, Feed clips, or even podcast segments.
Choosing the Right Format for Your Content
There’s no single format that fits every kind of video. Let’s take a look at how you can benefit from the types of Instagram videos and when is best to use them.
Feed Content
If you’re creating something polished with captions and a call-to-action, the Feed is a solid home. You can frame it in 4:5 to fill more vertical space and hold attention. Captions live below the video, so you don’t need to cram everything into the visual itself. Let the visuals breathe. Let the message land.
Reels
For content that leans on humor, trends, tutorials, or storytelling, Reels are the go-to. The vertical 9:16 fills the screen, draws the eye, and sets the expectation that something quick and engaging is about to happen. But if you have a distinct style or want to stand out with a square or 4:3 look, that works too. The key is clarity. Keep your focal point centered, and don’t be afraid to experiment.
Stories
Stories are ideal for spontaneous updates, casual check-ins, behind-the-scenes moments, or limited-time offers. Since they disappear after 24 hours, they're lower-pressure, but still worth sizing correctly. While 9:16 is standard, make sure you leave space at the top and bottom for things like usernames, captions, stickers, and reply buttons.
Instagram Live
Then there’s Instagram Live, where framing matters in real time. You can’t edit after the fact, so choose a setup that keeps your face well-lit and your background simple. 9:16 is built in, but you still control what fills the space. A messy room or shaky camera? That can undo all the good you’re trying to create. When done right, Lives can be repurposed into Reels or Feed clips later (just keep that in mind when you plan your background, lighting, and sound).
If you’re posting across all these formats, consider creating a master video in high quality and then resizing it for each platform. With tools like Podcastle, you can do that without re-editing everything from scratch. Just drop your video in and resize it in a few clicks.
Common Instagram Video Mistakes to Avoid
Even strong content can fall flat when the technical stuff goes sideways. These mistakes happen more often than you’d think, and they’re easy to fix once you know what to look out for.
1. Using the wrong aspect ratio
The quickest way to make a video feel off? Upload a landscape video into a vertical space. It’ll either get cropped, boxed in with black bars, or look like it wasn’t made for the platform. That sends the wrong signal. Keep your aspect ratio in mind from the moment you start editing.
2. Forgetting about “safe zones”
Instagram overlays buttons, captions, and usernames depending on the format. If your text or visuals are placed too close to the edge, they might get covered or cut off. Always give your elements some breathing room, especially at the top and bottom of Stories and Reels.
3. Losing quality from compression
Instagram compresses videos. It happens automatically. But uploading a lower-quality file makes it worse. Aim for 1080p resolution, use the right dimensions, and avoid overly large files. You want crisp visuals, not blurry replays.
4. Ignoring sound quality
If your audio has background noise, hiss, or echo, people notice. They might not finish watching. And Instagram’s algorithm notices that, too. Whether you’re recording a voiceover or live audio, use tools to clean it up.
5. Skipping subtitles
A huge percentage of people watch Instagram videos with the sound off. If you skip subtitles or captions, you risk losing their attention. Instagram has built-in tools for this, but auto-generated ones can miss the mark. Services like Podcastle let you edit your captions after they’re generated, so the tone, spelling, and timing all stay sharp.
How to Make Perfect IG Videos with Podcastle
You don’t need a big setup or an expensive camera to make videos that look clean and sound like they were made in a studio. With Podcastle, you can start with an idea and end with something that feels polished, sized right, and ready to post—without leaving your browser.
Here’s how to do it:
1. Upload or record your video
You can start with footage you already have or record something new right in Podcastle. If you’re recording from scratch, you’ll get high-quality video and audio right off the bat. Just make sure you frame yourself with enough headroom if you’re planning to crop vertically later.
2. Resize to fit the format

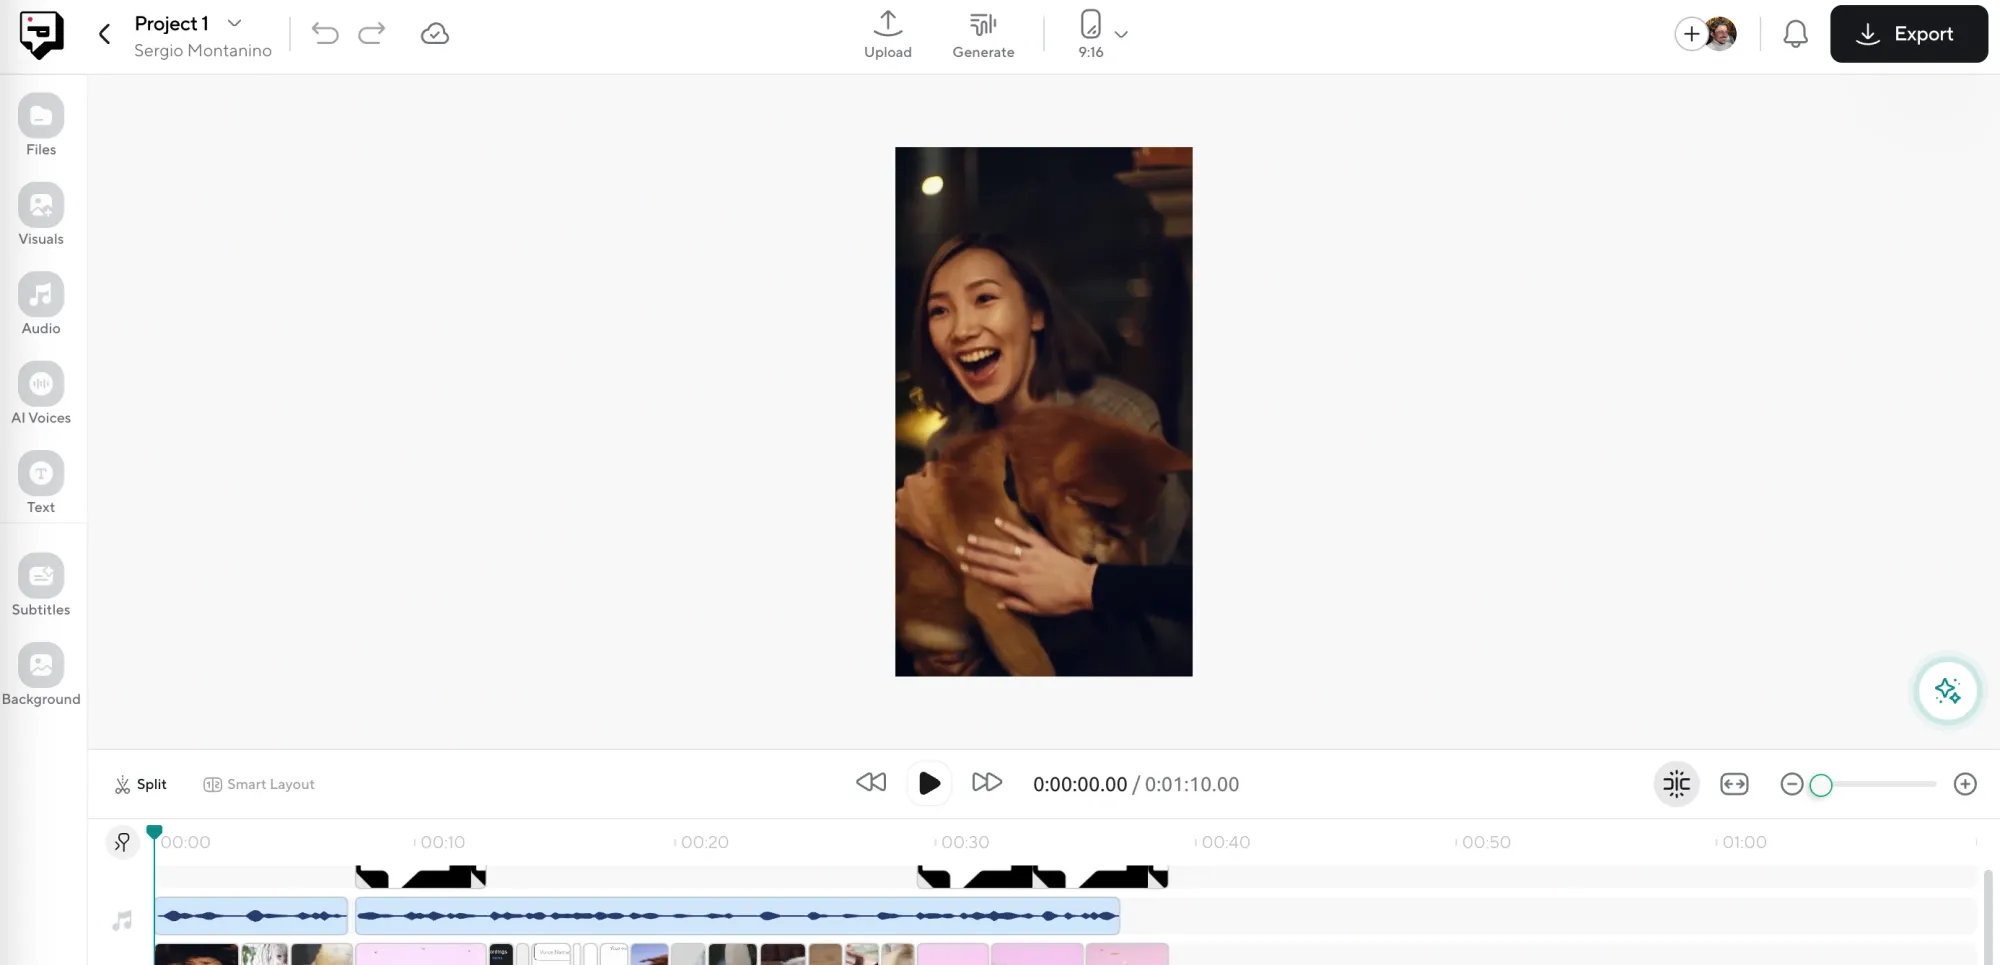
Once your clip is in the editor, select the size you need. 9:16 for Reels or Stories, 4:5 for Feed, or 1:1 if you’re going for that balanced, symmetrical look. With Smart Layouts, Podcastle can help you reframe the shot automatically—no need to start over or manually drag corners around.
3. Enhance your audio and visuals
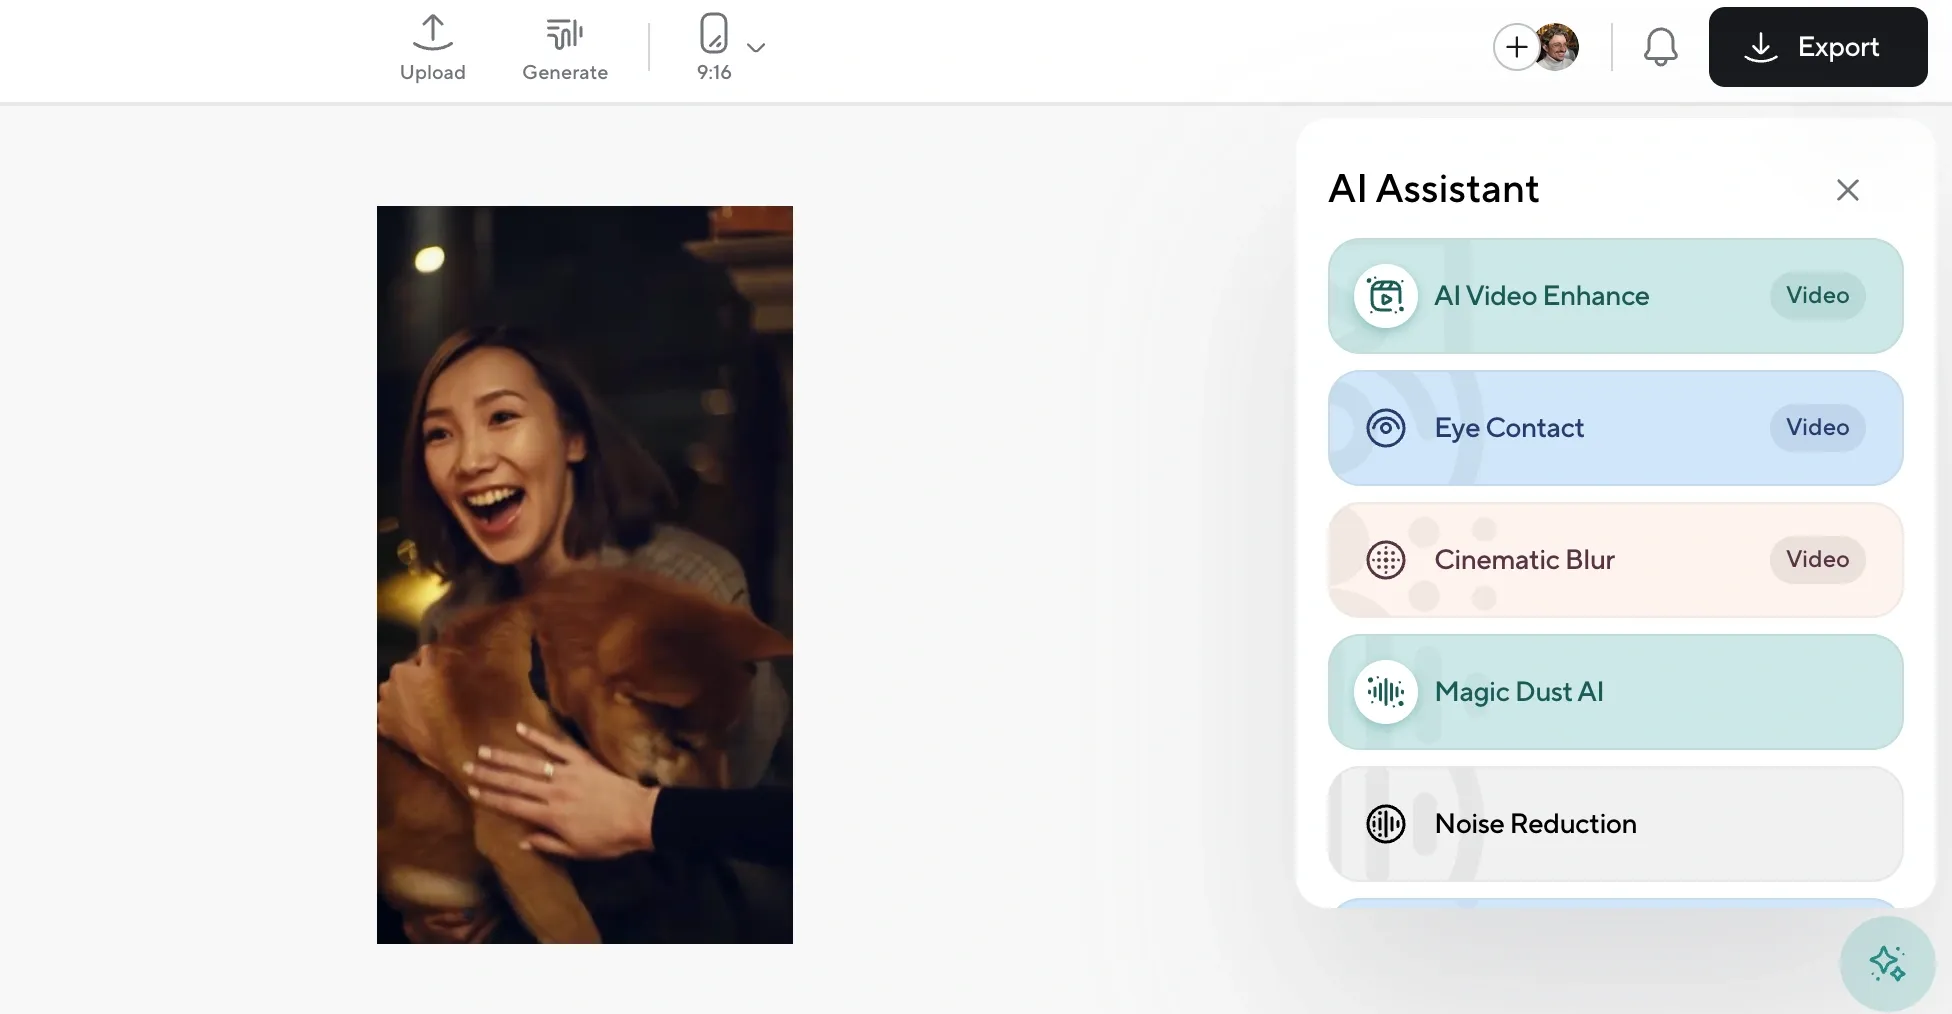
This part changes everything. With one click, you can remove background noise, boost your voice, and smooth out lighting. If your footage looks flat or sounds echoey, these fixes make a big difference without the hassle of adjusting sliders or installing plug-ins.
4. Add captions or subtitles
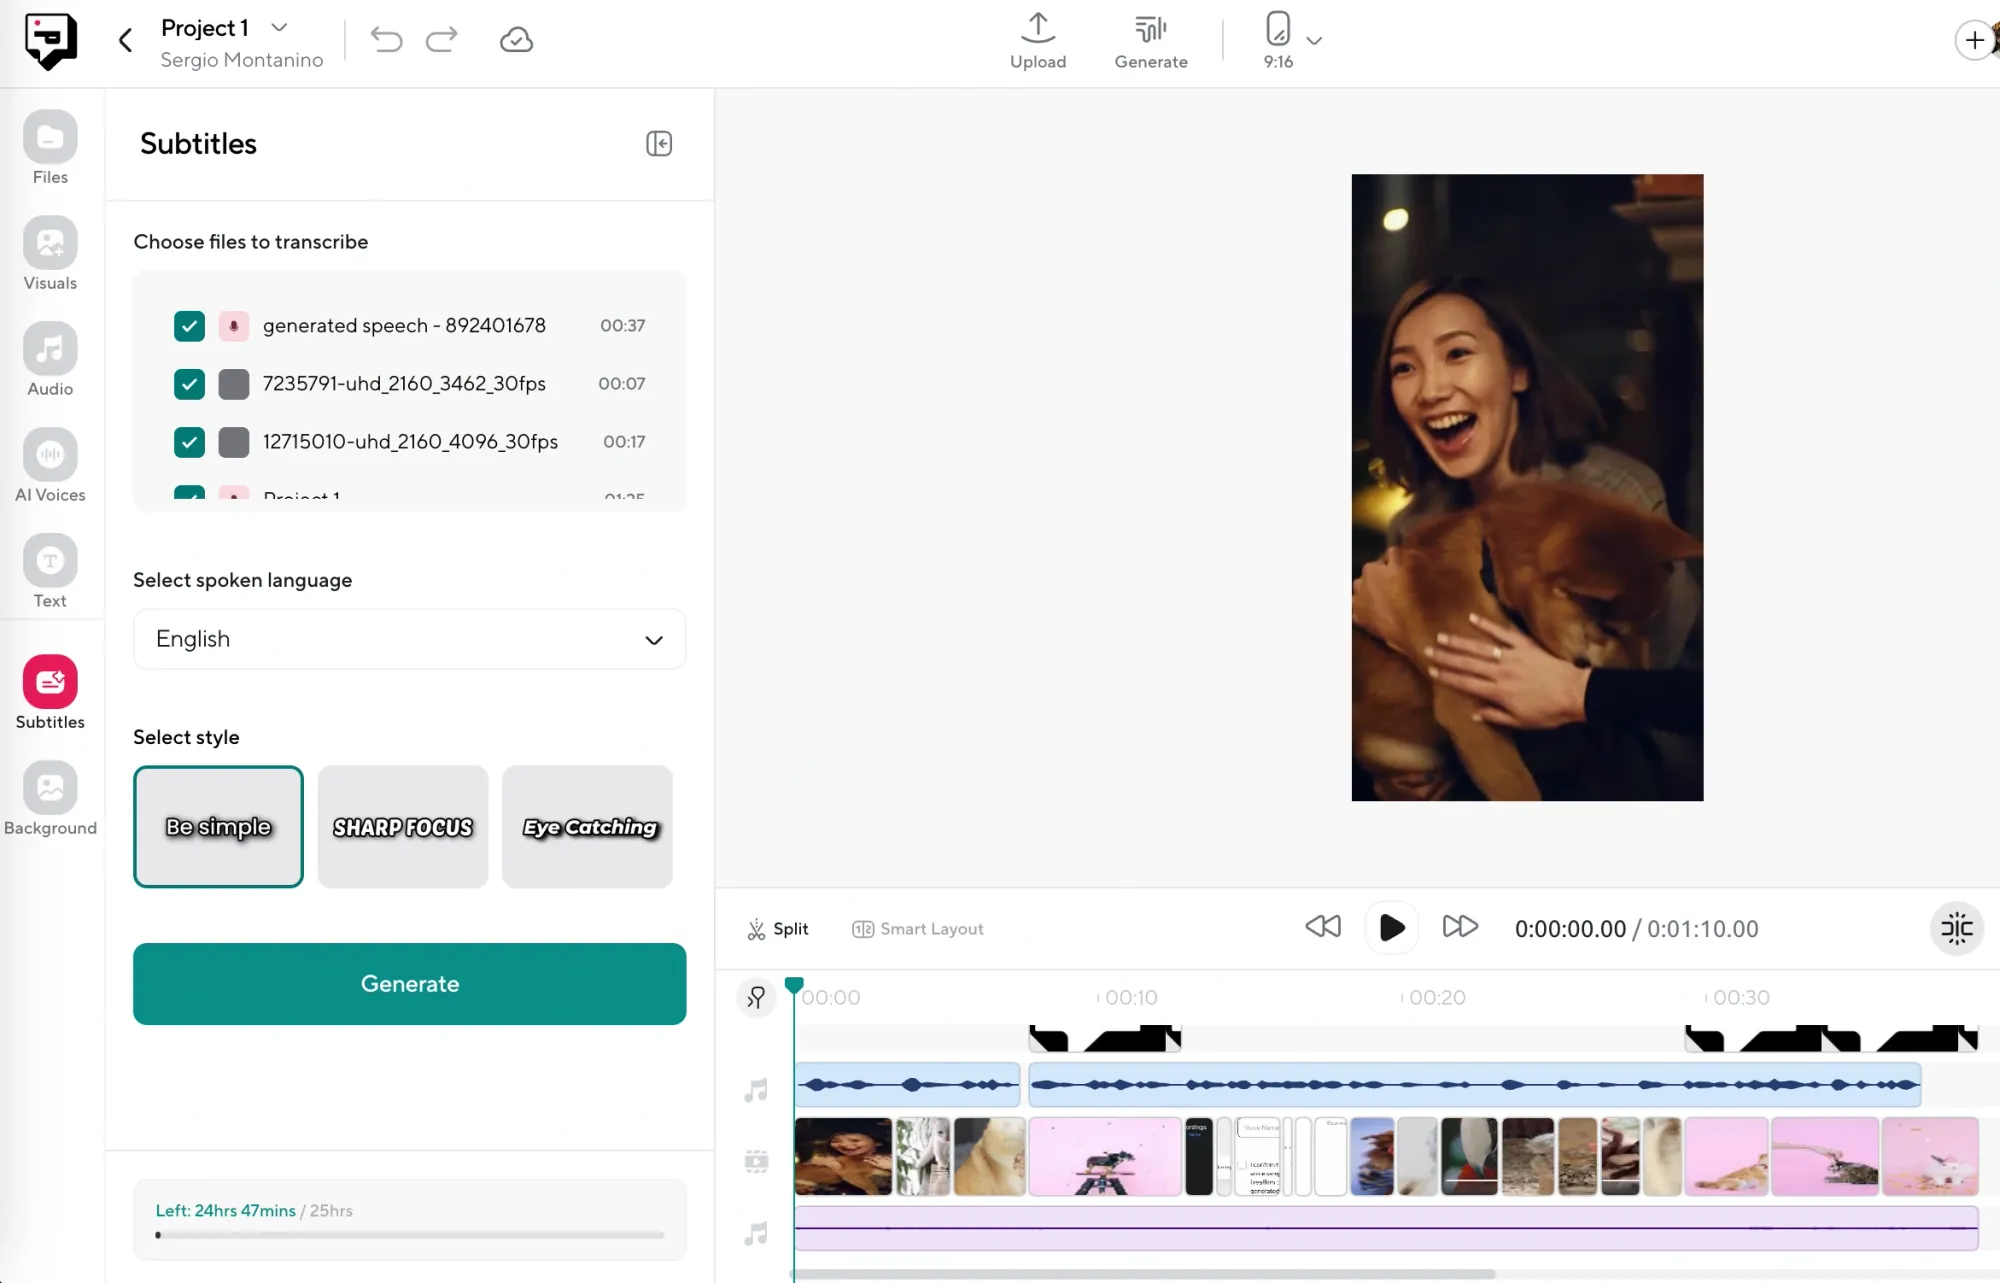
Click once, and Podcastle will generate captions for your video. You can edit them for accuracy, change the font or color, and move them around the frame to fit your style. Captions are especially useful for Reels and Stories, where viewers often watch with sound off.
5. Use AI voiceovers (if you want to narrate something)

Need a voiceover but don’t feel like recording? Choose from over 30 AI voices in different styles and accents. You can even clone your own voice if you want it to sound like you. This comes in handy for Reels with quotes, tips, or scripted messages where timing matters.
6. Export in the right format
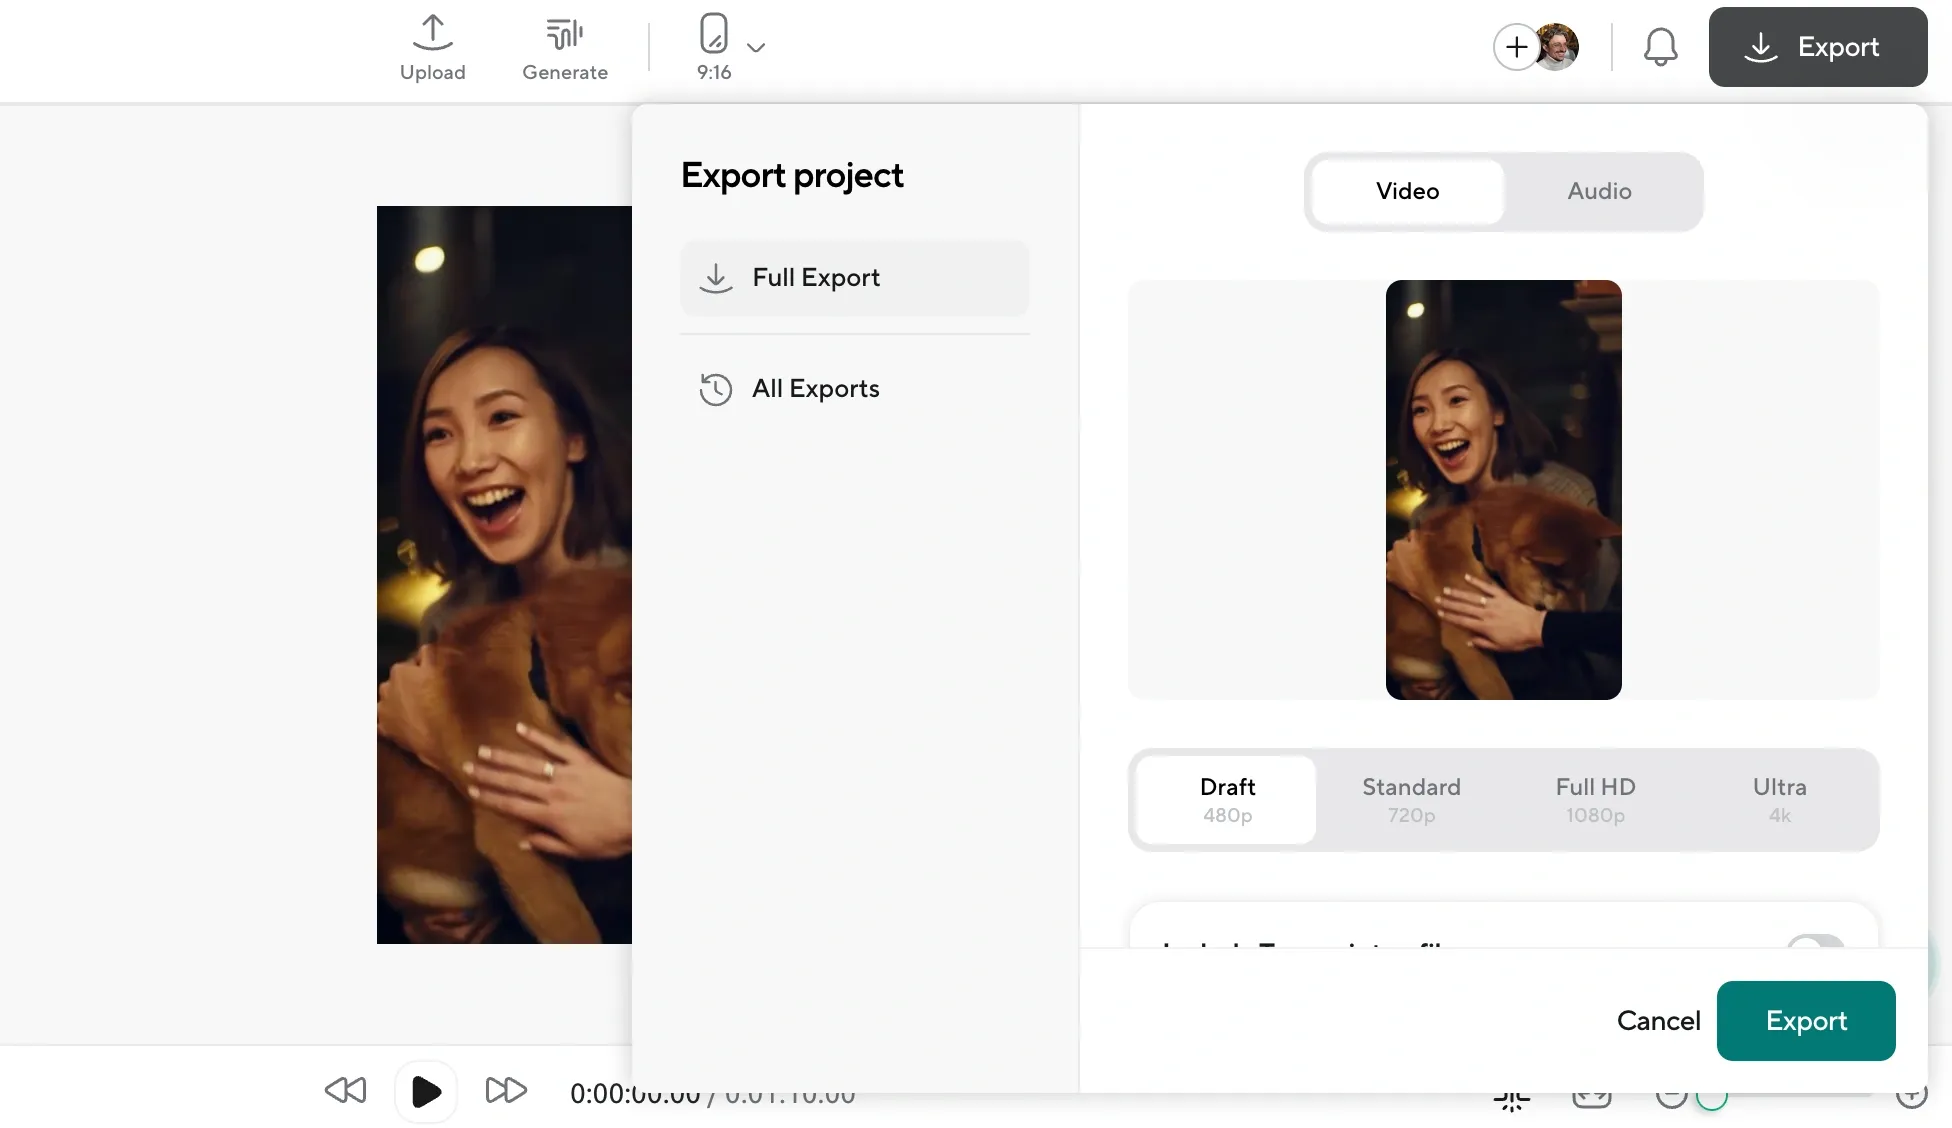
Once you’re happy with the edit, export the file using Instagram-friendly settings. You’ll get a clean, compressed version that won’t get destroyed by Instagram’s automated compression.
Final Thoughts
Making content for Instagram doesn’t stop at what you say. It includes how you frame it, how it sounds, and how it fits into the space it lives in.
With Podcastle, you can move fast without sacrificing quality. Record, resize, clean up your audio, add captions, and export for Instagram in one go. Whether you’re editing your first Reel or batch-producing videos for a growing audience, the tools are built to make the process feel simple, not overwhelming.
Try Podcastle’s Video Editor for free and see what your next post could look like when the tech works in your favor.