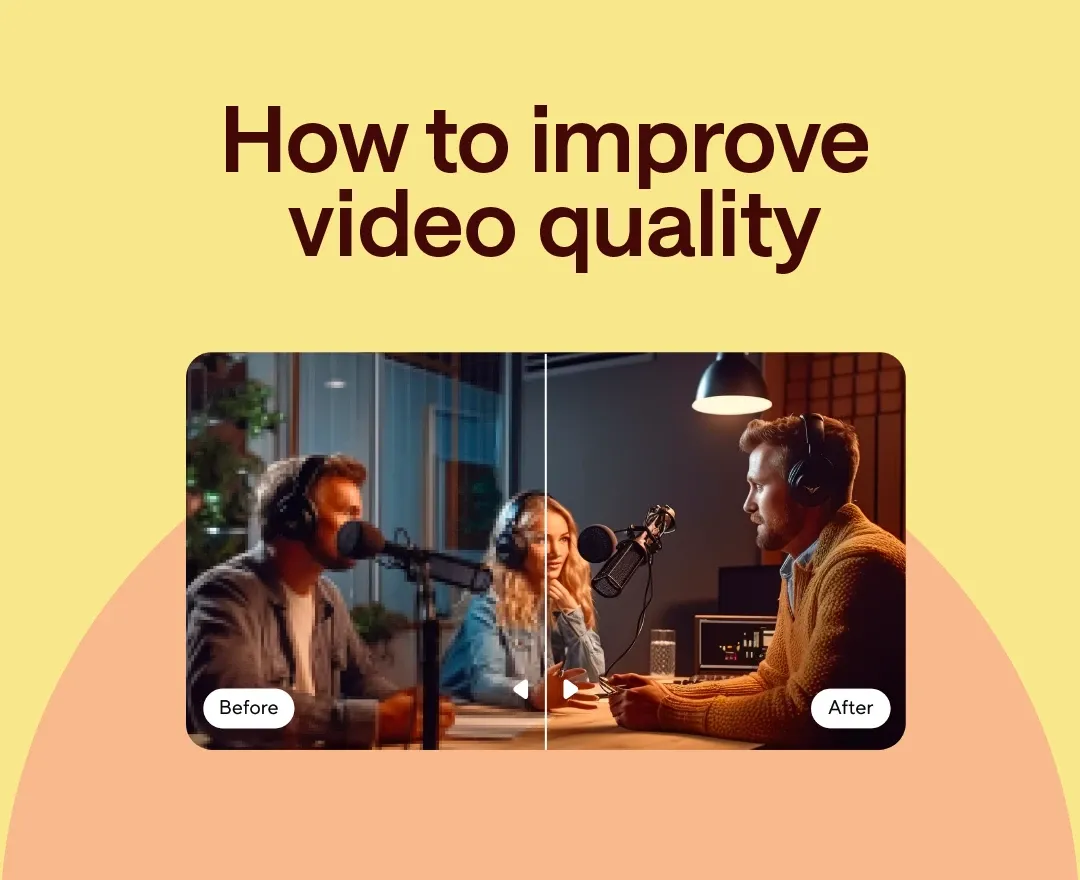
If you’ve ever watched one of your videos back and felt like something was missing, like the quality was a little flat, or the whole thing just didn’t look as crisp as you imagined it in your head, there’s a good chance your footage needs upscaling, not reshooting.
If you’re a creator working with limited gear, older footage, or something filmed in less-than-perfect conditions, being able to upscale your video can make a huge difference without requiring a studio setup or an expensive camera.
Podcastle’s built-in AI Video Enhance tool makes this process incredibly simple, which is good news if you’d rather spend time creating than figuring out another complicated piece of software.
Here’s how to do it in 3 simple steps.
How to Improve Video Quality with Podcastle
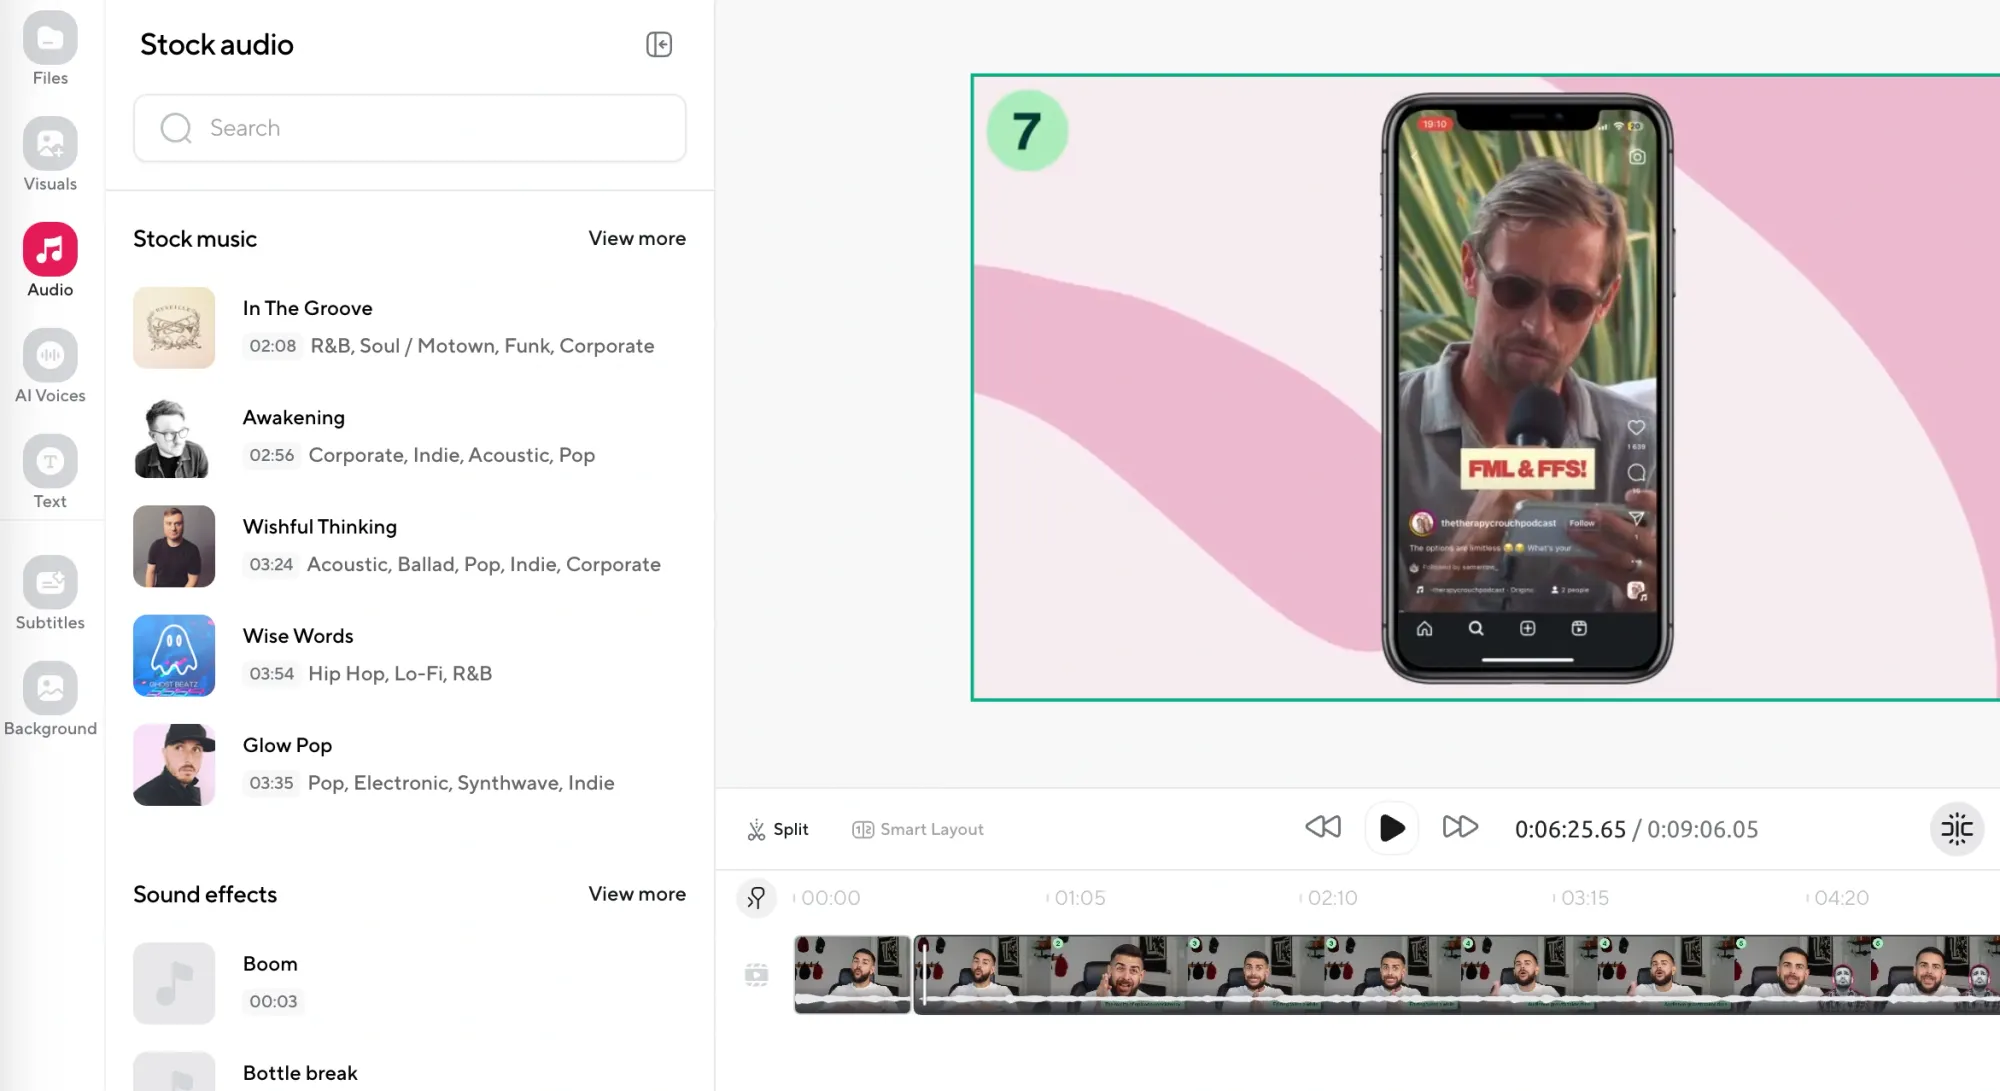
Upscaling in Podcastle takes just a few clicks, but the key is knowing where to start and what to adjust once your footage is enhanced. Below is a simple walkthrough to help you clean up your video, add final touches like music or voiceover, and export something you’re actually proud to share.
1. Open the Video Editor and upload your footage
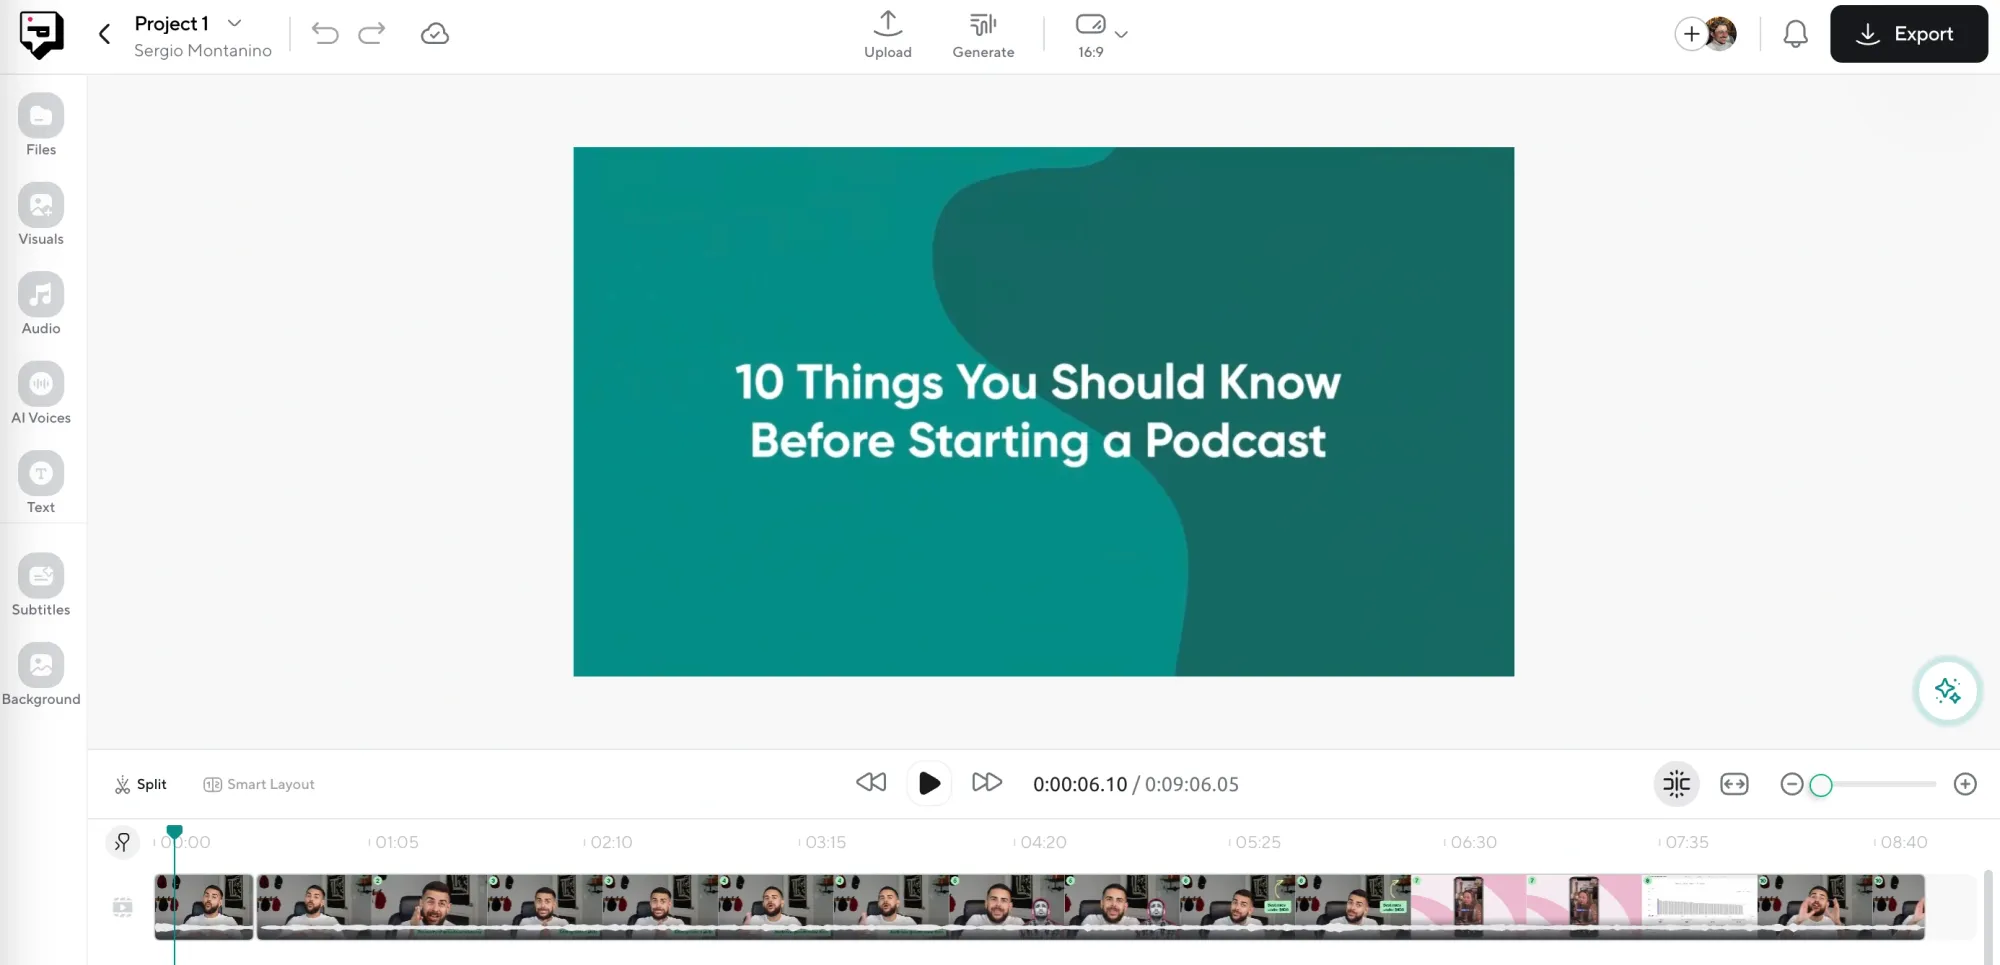
After logging into your Podcastle account, head into the Video Editor and upload the clip you want to enhance. You can drag and drop your file or choose one from your project library if it’s already there.
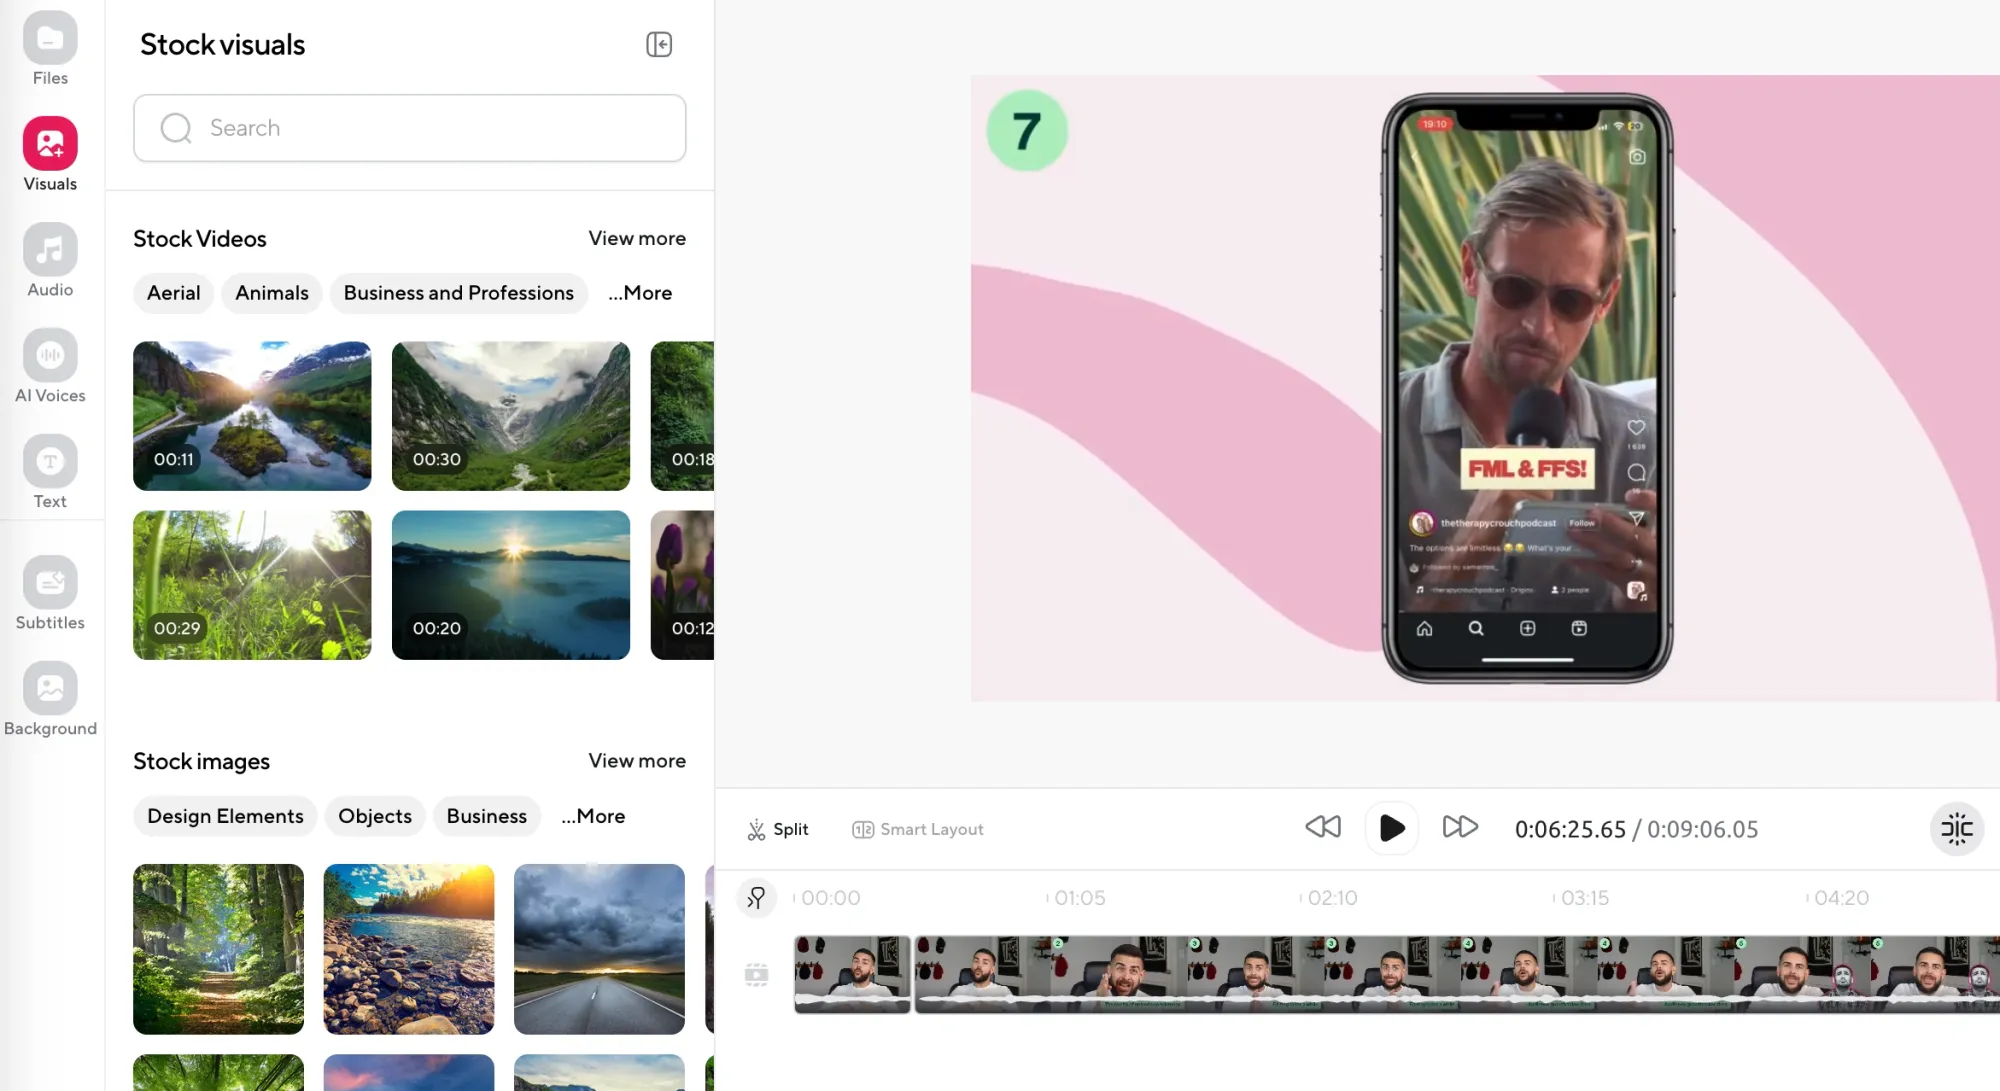
2. Click on AI Assistant and select “AI Video Enhance”

On the right side of your screen, you’ll see the AI Assistant panel. Click into it and choose “AI Video Enhance.” This tells Podcastle to analyze your video and start improving things like sharpness, resolution, color balance, and more. It happens automatically in the background, and you can preview the changes side by side.
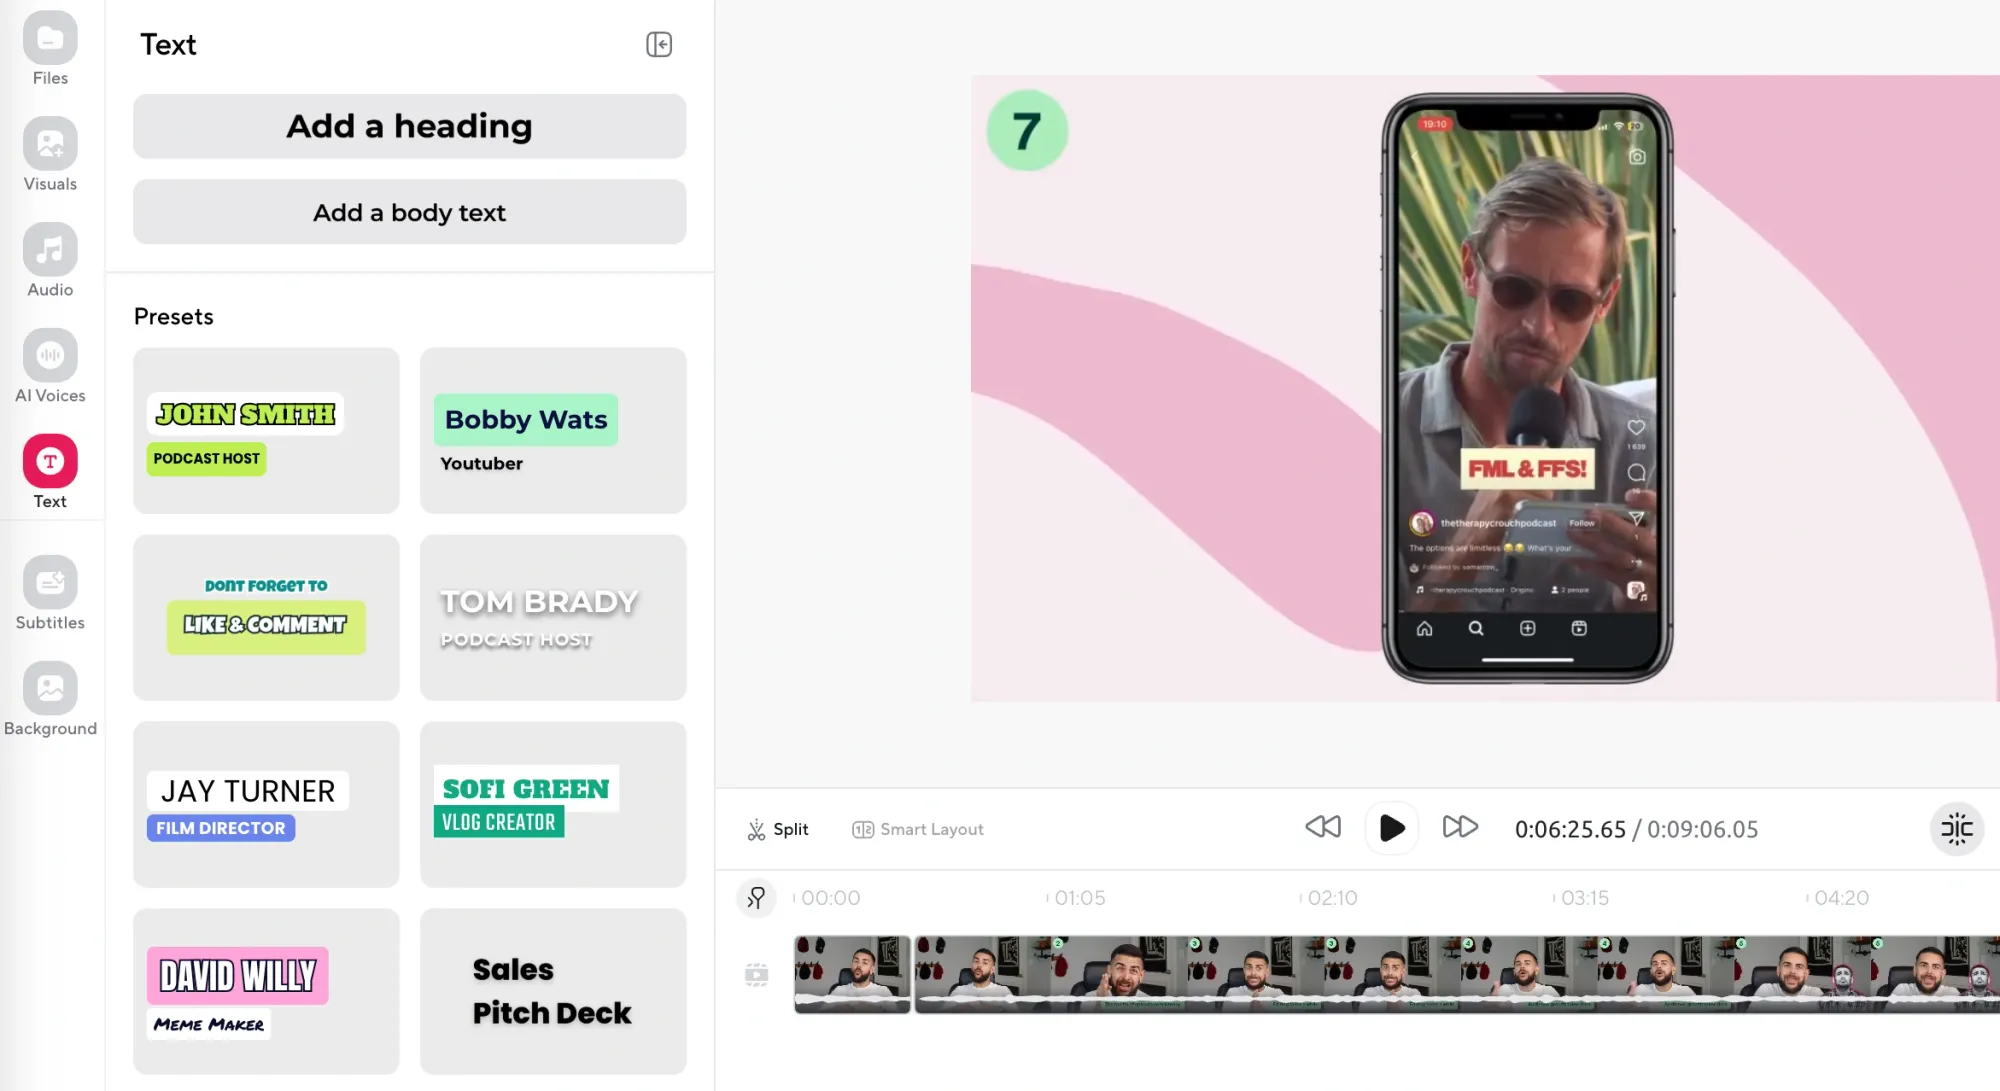
3. Tweak the final edits before exporting

Once the enhancement is done, take a moment to finish up your video. That might mean trimming out an awkward pause, adding background music, throwing in an AI voiceover, or even swapping out the background if you’ve filmed against a solid color. When you’re happy with it, hit Export and download your upscaled video.
How to Improve Video Quality: Tips
AI can make a huge difference in how your video looks, especially if you’re working with footage that feels dull, noisy, or slightly off. But the result depends on what you start with and how you approach the editing process. If you rely too heavily on enhancement tools without thinking about context, you risk ending up with something that looks over-processed or inconsistent across devices.
Here are a few tips to keep in mind when trying to improve video quality.
1. Start with the best footage you can get.
AI enhancement can clean up noise, smooth lighting, and sharpen footage, but it can’t invent detail that wasn’t there to begin with. If your original clip is blurry, pixelated, or already compressed from a social media download, the improvement will be limited.
Record in the highest resolution your device allows, and avoid passing footage through too many apps before editing. Every time you export, especially from a phone, some quality gets lost, so the fewer times you do that, the better.
2. Avoid over-editing.
The more layers of sharpening, noise reduction, and tweaking you stack, the more likely it is your video ends up looking artificial. Skin turns plastic, shadows disappear, and everything starts to feel flat or overlit.
A good enhancement usually doesn’t call attention to itself. Make one change at a time, critically ask yourself how it looks, and give yourself room to undo it if it's unnecessary. If you’re unsure, take a break and come back to it. And if something immediately looks off when you rewatch it, it probably is.
3. Keep file sizes in mind.
When you upscale video or raise the export quality, you’re adding more pixels and more data. That’s fine in theory, but it can turn a 200MB file into a multi-gigabyte one, which becomes a problem fast if you’re uploading to a platform with a size cap, trying to email the video, or just working with limited hard drive space.
Don’t wait until the export screen to think about this. If you know the final destination (Instagram, a client platform, internal Slack), check their limits and plan your export settings around that. You don’t want to render a perfect video and then realize it’s too big to share.
4. Test it on different devices.
A video that looks sharp on your laptop can look muddy on a phone. Something that seems vibrant on a bright monitor might look overexposed on an older screen. Watching your enhanced video on at least two different devices (ideally with different screen sizes and brightness levels) helps you spot problems you’d miss otherwise.
So, before calling it a day, send your video draft to your phone, watch it fullscreen, and ask yourself: does anything feel off? You’ll almost always notice something small that you can fix before publishing.
5. Use AI enhancement as a tool, not a fix-all.
AI can do a lot, but it can’t recover everything. If your footage was shot in the dark with no stabilization and bad white balance, no tool is going to make it look crisp and professional.
If the footage is a mess, consider whether you’re better off trimming it or using a cutaway instead of trying to “fix” it in post.
Why and When Does Video Quality Matter?
People often assume that high production value always wins. But that’s not entirely true. What matters more is alignment.
Does your video quality match the tone of what you’re saying and where you’re posting it? If you’re creating an explainer video or pitching a client, then quality absolutely matters. Viewers equate sharp visuals with trust and effort. But if you’re making a short, funny video for TikTok or commenting on a trend in real time, overproduced clips can feel out of place or even perform worse.
Upscaling helps most when the original video is almost good enough. Maybe the lighting was slightly too dark, or the resolution feels a little soft. That’s when AI upscaling tools can push your footage across the finish line. But if you’re working with heavily compressed or extremely low-resolution video, keep expectations in check since AI can clean things up, but it can’t rebuild detail that was never there.
When to Skip the Video Upscale
Not every video needs to look crisp and polished, and in some cases, trying to force that look can actually take away from the tone or purpose of the content. Below are a few types of videos where leaving things a little messy (or even intentionally low-res) can be the better choice.
1. You want that grainy, analog look.
Some creators deliberately shoot with older camcorders, VHS filters, or phone cameras from 2010 on purpose. That grain, the motion blur, the soft edges, they all add a kind of texture that feels nostalgic or raw. If you upscale footage like that, especially using tools designed to clean things up, you risk stripping away the imperfections that give the video its mood. It might look technically better, but it won’t feel the way you intended.
2. You’re channeling the early 2000s.
There’s a whole aesthetic built around early YouTube, Myspace-era vlogs, and old-school webcam footage that's meant to capture that specific era where videos felt more personal, less produced, and sometimes even a little awkward. In these cases, creators might even use retro filters and bad lighting on purpose. Trying to enhance those clips can ruin the joke, break the immersion, or just make the video feel like it’s trying too hard.
3. The video’s meant to feel “caught on camera.”
Lo-fi can work when you’re aiming for realism. Think prank videos, casual reactions, or chaotic livestream edits. These clips feel spontaneous because they look spontaneous. If you upscale them too much, you might polish away the immediacy that made the moment work. The blur, the pixelation, even the shaky framing—it all helps sell the idea that what we’re watching is real and unfiltered.
4. You’re making a meme.
Some of the funniest videos online are absolute garbage, technically speaking. Blown-out audio, low-res zooms, overused stock fonts—meme culture thrives on anti-aesthetic. If you try to upscale a meme clip, the humor can start to fall apart. People aren’t watching those videos because they look great. They’re watching because they’re weird, ridiculous, and unhinged in a way that polished footage just can’t replicate.
5. You’re intentionally setting a mood.
Sometimes blur and softness are part of the storytelling. Maybe you want the video to feel like a memory, or maybe the subject matter is serious and you don’t want it to look too sharp and glossy. Upscaling tends to make things feel cleaner and newer, which can clash with a video that’s supposed to feel distant, vulnerable, or gritty. If the tone you’re after benefits from rough edges, you’re better off leaving it as is.
Final Thoughts
Upscaling doesn’t automatically fix bad quality videos (at least the really bad ones), and it shouldn’t be treated like a step you have to take for every single video. But when you’ve got a piece of footage that deserves to look a little sharper, feel a little more professional, or just hold up better across platforms, it’s a useful tool to have in your pocket.
The process inside Podcastle is simple enough that you don’t have to be a professional editor to get good results, and flexible enough that you can still tweak things to match your own style. All you need is one click and let AI do the rest.