Some videos just feel smoother than others. It might be the angles, the color grading, but sometimes, it can purely be down to the transitions.
Transitions shape the emotional tempo of your video, and when used properly, they do a lot more than simply bridge two clips. They make your content feel finished.
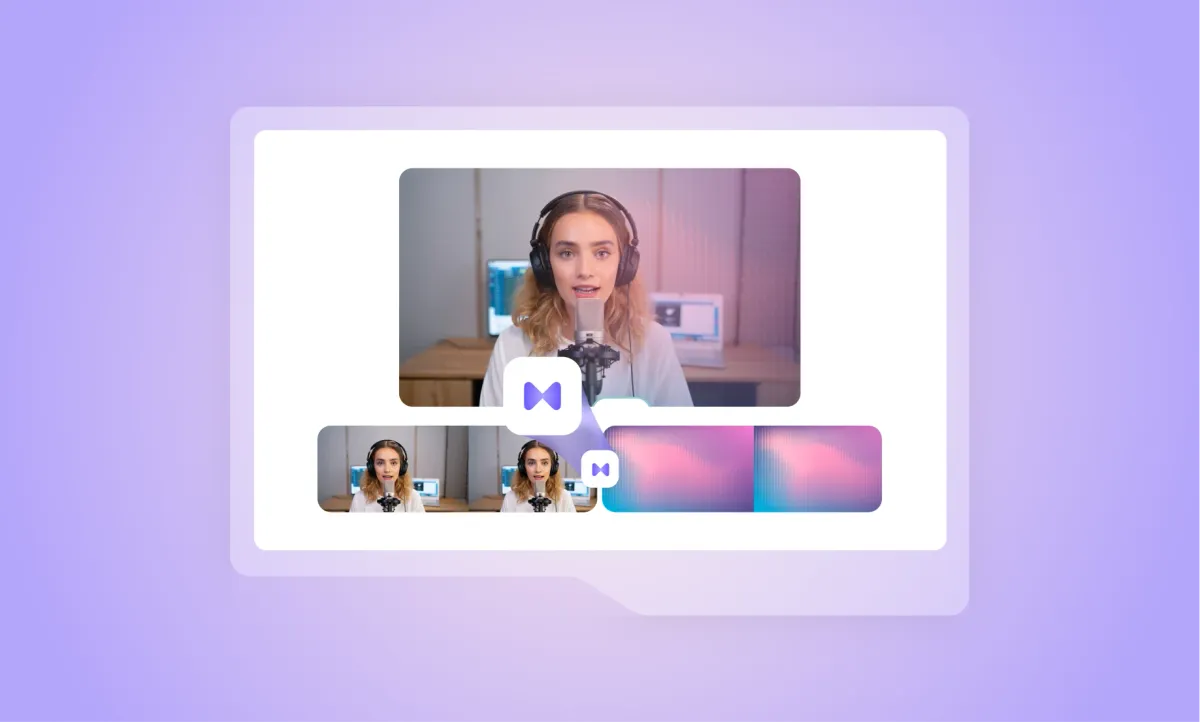
If you’ve ever wanted to add transitions to your video without spending hours trying to learn a complicated timeline or fiddling with keyframes, Podcastle has you covered. You can drop in cinematic transitions, fade effects, or quick punch cuts in just a few clicks, and the best part is, you don’t need any editing experience to make it happen.
Let’s walk through exactly how to do it.
How to Add Transitions with Podcastle
Step 1: Open the Video Editor and Upload Your File
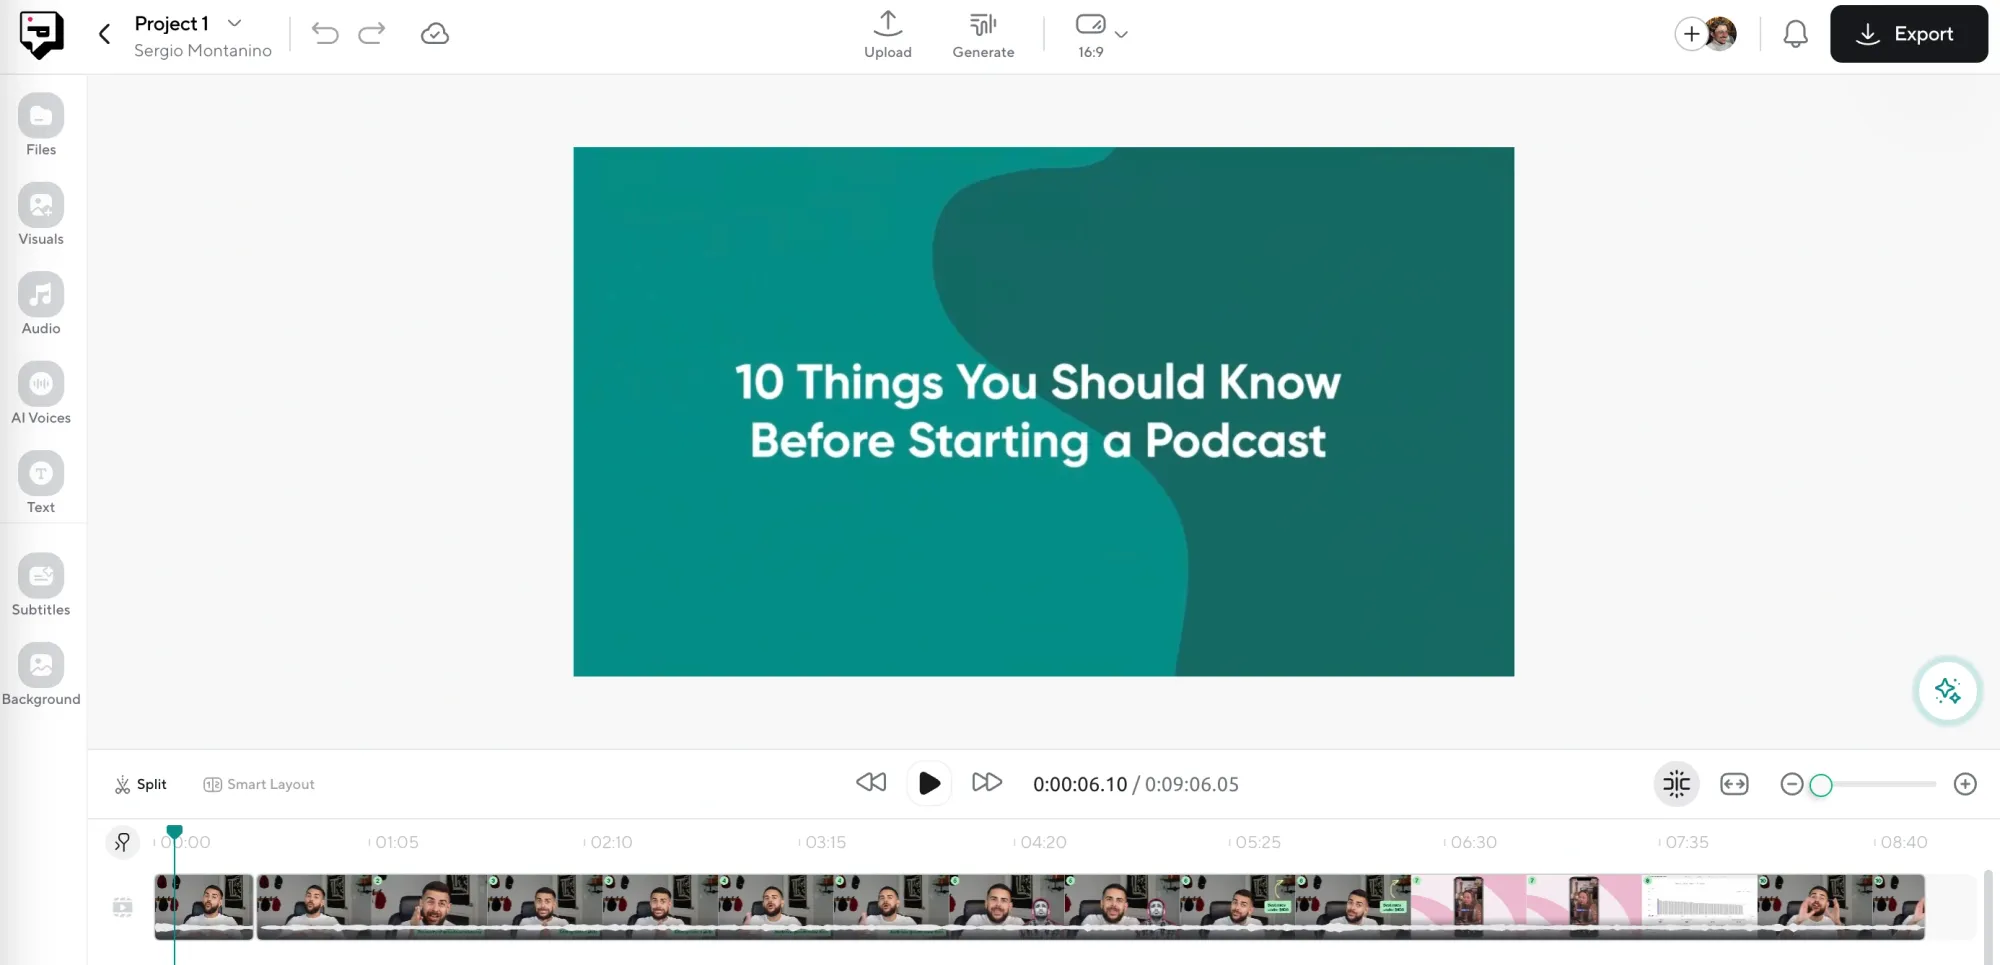
Start by logging into your Podcastle account and opening the Video Editor. Click the Upload button and drag in your video file. It will start uploading in the background right away, and you can immediately start scrubbing through the timeline and lining things up while the file continues processing.
Step 2: Click into the “Transitions” Tab on the Left

Once your file is in, look to the left side of the screen. You’ll see a panel with a tab called Transitions. Clicking that opens up a whole menu of transition styles you can use, from classic fades and wipes to quicker, more dynamic options that give your edits a sharper feel. Everything is drag-and-drop, so if you want a crossfade between two clips, just drop it right at the cut and it’s there.
Step 3: Make any Final Adjustments
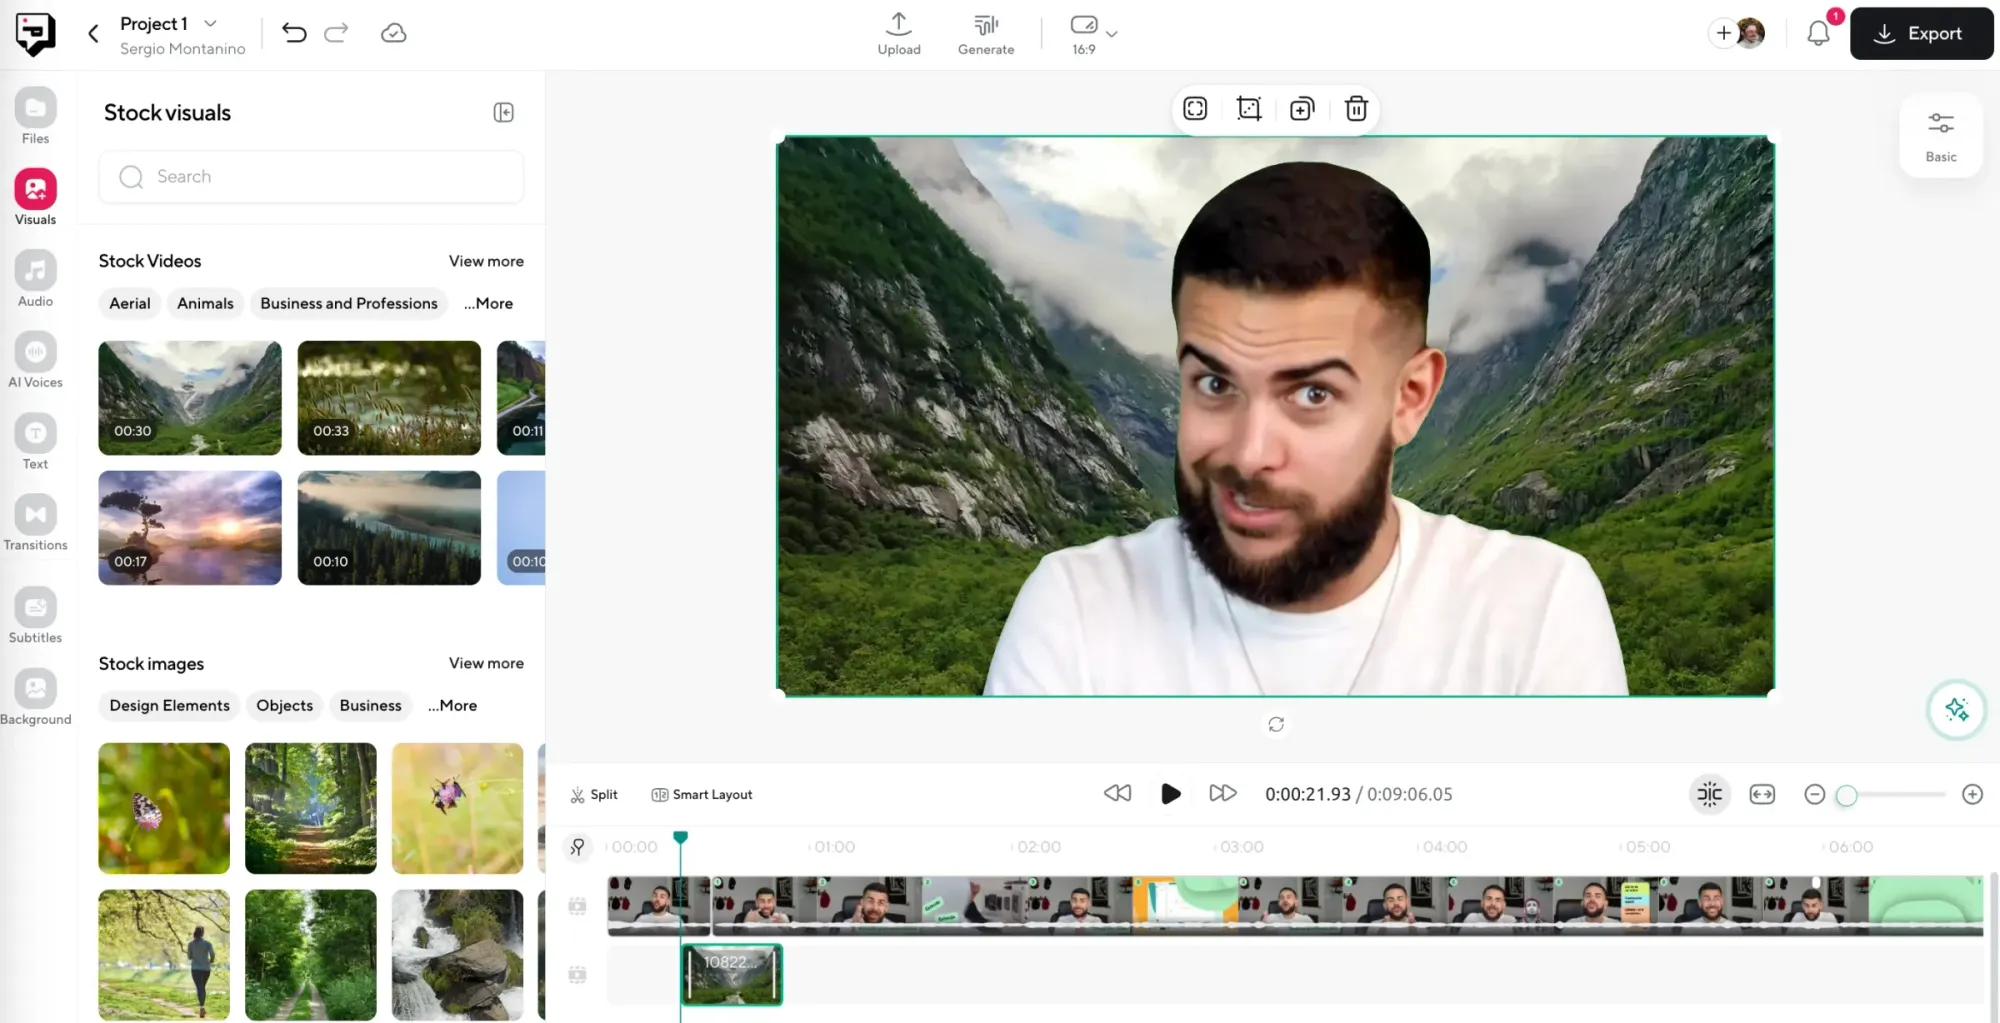
You might want to add something visual that matches the new flow of your video. With Podcastle's built-in stock video library, you can browse through a huge collection of high-resolution videos, still images, GIFs, and even single-color backdrops.
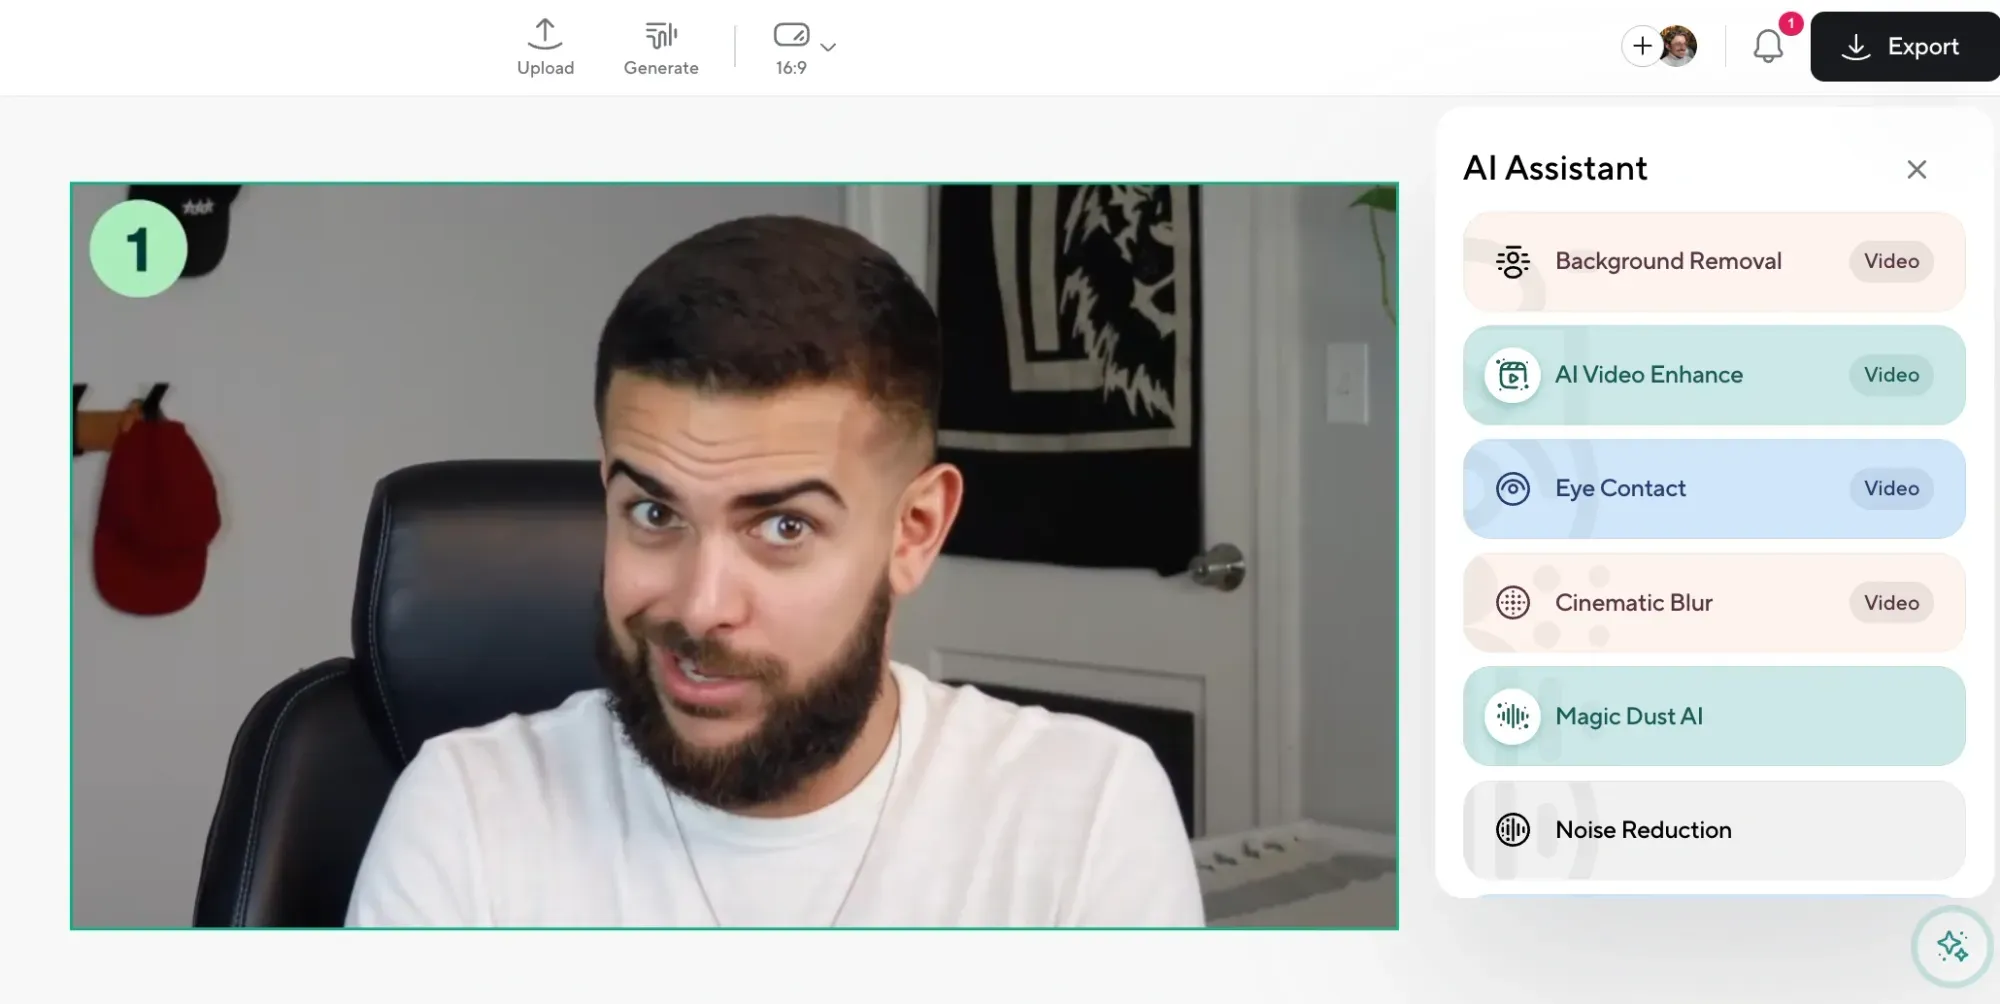
You’ll also find tools like AI Audio Enhancement and Background Noise Remover right inside the editor, just toggle them on and the platform does the rest. These tools can fix muffled dialogue, reduce echo, and clean up room noise without making your audio sound robotic or over-processed.
Step 5: Export and Share

Once everything looks and sounds right, go ahead and export your project. Podcastle will process your video and prep it for download or sharing. The final file will include all your transitions, edits, visuals, and enhanced audio in one seamless output, ready for YouTube, TikTok, or wherever you’re posting.
5 Quick Troubleshooting Tips
Even the best tools need a bit of finesse. If something feels off with your transitions, try one of these fixes:
- Double check your clip trimming. If the transition feels jarring, it might be that one of the clips ends too suddenly. Try trimming a few frames off the tail or beginning of the clips to give the transition room to breathe.
- Use transitions sparingly. It’s tempting to try every option in the library, but too many effects can make your video feel overdone. Stick to a few that match your style and use them consistently.
- Adjust transition length manually. If a cut feels too abrupt, you can stretch out the duration of the transition. Just drag the edge of the effect on the timeline to make it smoother.
- Try removing transitions completely. Sometimes the best edit is no edit at all. A simple cut can feel more professional than a flashy wipe if the footage speaks for itself.
- Refresh and reapply if something glitches. If a transition isn’t showing up correctly, refresh the page or remove and re-add it. It’s rare, but occasionally the browser might lag behind your changes.
5 Advanced Tips for Editing with Transitions
Once you’ve got the basics down, here are a few ways to push your edits further and get that polished, pro-level finish:
- Match transitions to audio cues. Try placing your transitions right on a music beat, or on a breath or pause in the dialogue. It creates a rhythm that feels intentional and makes your edit feel much more refined.
- Use transitions to guide emotion. A slow crossfade can signal reflection or calm, while a sharp cut or zoom effect can raise tension.
- Layer visual transitions with sound design. Pair a fade-in with a swell of music or add a subtle swoosh sound to enhance the effect. These little touches are what make your edit feel cinematic.
- Create your own “transition style.” Use the same 2–3 transitions throughout your entire video or video series. That consistency builds a visual identity, especially if you’re posting regularly.
- Use transitions as a reset button. If your video changes topic, tone, or location, a transition can act like a mental break for the viewer. It helps them process what they just watched and primes them for what’s next.
Why Transitions Matter (And When to Use Them)
When used intentionally, transitions help guide your audience through the story you’re telling, even if that story is a quick how-to or a product breakdown.
They also help cover up rough edits. If your footage doesn’t match perfectly between takes or you’re stitching together different sessions, a well-placed transition makes the whole thing feel seamless. And when you’re editing fast for social or trying to hit a deadline, that can save hours.
Use transitions when you want to change pace, shift focus, or make your edits feel smoother. But use them thoughtfully. Like seasoning in a recipe, too much and the whole thing tastes off. Just enough and it all comes together.
Final Thoughts
Adding transitions to your video shouldn’t feel like a chore. It shouldn’t require a separate app or a crash course in editing theory. With Podcastle, the tools are simple, the effects are clean, and the whole process stays right in your browser.
So next time your video feels a little too choppy or your edits feel like they’re missing something, try adding a few transitions. See how they change the mood. See how they help the story flow. And most of all, see how much better your content feels when it’s had a little extra care in the edit.