There’s something about a well-placed piece of music in a video that can completely change how it feels. It can set the mood, build tension, make something funnier, more emotional, or just smoother to watch.
While editing tools have come a long way, a lot of creators still aren’t sure where to start when it comes to adding music to their YouTube videos, or they assume it requires expensive software or complicated editing workflows.
This guide walks you through exactly how to use the built-in music tools inside YouTube Studio, and how to step things up under a more customizable editing process with Podcastle, so you can decide what fits your content and workflow best.
Listen to this article
How to Add Music with YouTube Studio
Adding music to your YouTube videos is a great way to make your content more engaging and professional. Fortunately, YouTube provides an easy way to do this directly within YouTube Studio, without needing third-party software. Here’s a step-by-step guide on how to add music to a YouTube video using YouTube’s built-in tools.
First, keep in mind that adding music to a YouTube video can only be done on a computer, as the YouTube mobile app no longer supports audio track edits. Also, videos must be under six hours long to use this feature, and if your video has more than 100,000 views, only YouTube Partner Program members can save audio edits.
Steps to Add Music in YouTube Studio
- Sign in to YouTube Studio on your computer.
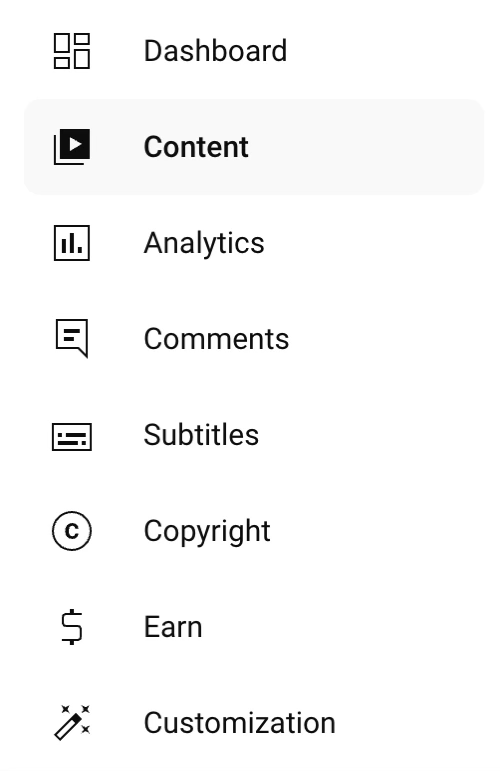
- From the left sidebar, click Content to see your uploaded videos.
- Select the video you want to add music to.
- Click Editor from the left menu.
- Choose the Audio tab to access YouTube’s collection of licensed music.
- Use the search filters to browse or search for tracks by genre, mood, or duration.
- Preview songs by clicking Play.
- When you find a track you like, click Add. The song will appear in your video timeline. Adjust when the music starts by dragging the track along the timeline.
- Trim the length of the song by dragging the edges of the audio box. Use the zoom function for precise timing adjustments. You can add multiple songs if you want to mix tracks.
- Once you’re happy with the edits, click Save to apply the changes.

What you Need to Know about YouTube's Music Library
YouTube’s music library offers a great selection of royalty-free audio tracks you can use safely in your videos. There's an extensive variety of background music for YouTube videos (that's regularly updated) across multiple genres and moods, perfect for setting the tone you want without worrying about copyright strikes.
Just like Podcastle's music library, one of the biggest advantages of using the YouTube music library is that all tracks are royalty-free for YouTube, meaning you won’t have to pay licensing fees or deal with copyright claims. This is especially helpful for creators who want to monetize their videos while still enhancing them with great audio.
To access the library, just head to YouTube Studio, click Audio Library from the left menu, and start exploring. You can filter tracks by genre, mood, instrument, or duration to quickly find the perfect background music for your videos.
Add Music to a YouTube Video With Podcastle
While YouTube Studio offers basic audio editing, many creators prefer more flexibility and creative control over their videos, especially when it comes to customizing background music. That’s where Podcastle stands out. With its intuitive video editor and built-in music library, Podcastle makes adding music to a YouTube video faster, easier, and more professional, even for beginners.
Here’s a complete step-by-step guide on how to use Podcastle’s video editor to upload your content, add music, fine-tune audio, and export a polished video ready for YouTube.
Step 1: Upload Your Video to Podcastle

Start by logging in to Podcastle and heading to the Video Editor. Click Create Project, and either drag and drop your video file or upload it from your device or cloud storage.
Podcastle supports a wide range of video formats and gives you a clean, timeline-based interface that’s easy to navigate, even if you’ve never used a video editor before.
Step 2: Choose the Perfect Background Music

Once your video is uploaded, it’s time to add music. You have two options here:
- Upload your own track if you’ve already sourced music.
- Browse Podcastle’s royalty-free music library, integrated directly into the editor.
The built-in library features high-quality background music for YouTube videos, from upbeat electronic to calming acoustic. You can filter tracks by mood, genre, and length, making it easy to find something that fits your content’s tone.
Using royalty-free music for YouTube is key to avoiding copyright issues and ensuring your video can be monetized. All tracks in Podcastle’s library are cleared for commercial use, so you can publish with confidence.
Step 3: Add and Position the Track
After selecting your music, drag it into your video timeline. Align the start of the track with the beginning of your video, or time it to kick in at a specific moment for more emotional impact.
If your music is longer than your video, you can trim it down. If it’s shorter, you can loop it seamlessly. Podcastle’s editor includes intuitive tools for trimming, splitting, and syncing audio with your visuals, perfect for storytelling or scene-based videos.
Step 4: Adjust Volume and Balance Audio
A common issue in adding music to a YouTube video is balancing it with voiceovers, dialogue, or sound effects. Podcastle makes this easy with built-in volume sliders for each track.
To keep your narration or dialogue clear, reduce the background music volume so it supports the message without overpowering it. You can also apply fade-in and fade-out effects to your track, preventing abrupt audio transitions and creating a smoother, more professional sound.
Want to fine-tune further? Podcastle also lets you adjust pitch and tempo, so you can subtly tailor the music’s vibe to better match your video’s pace and mood.
Step 5: Enhance Your Video with Audio and Visual Tools
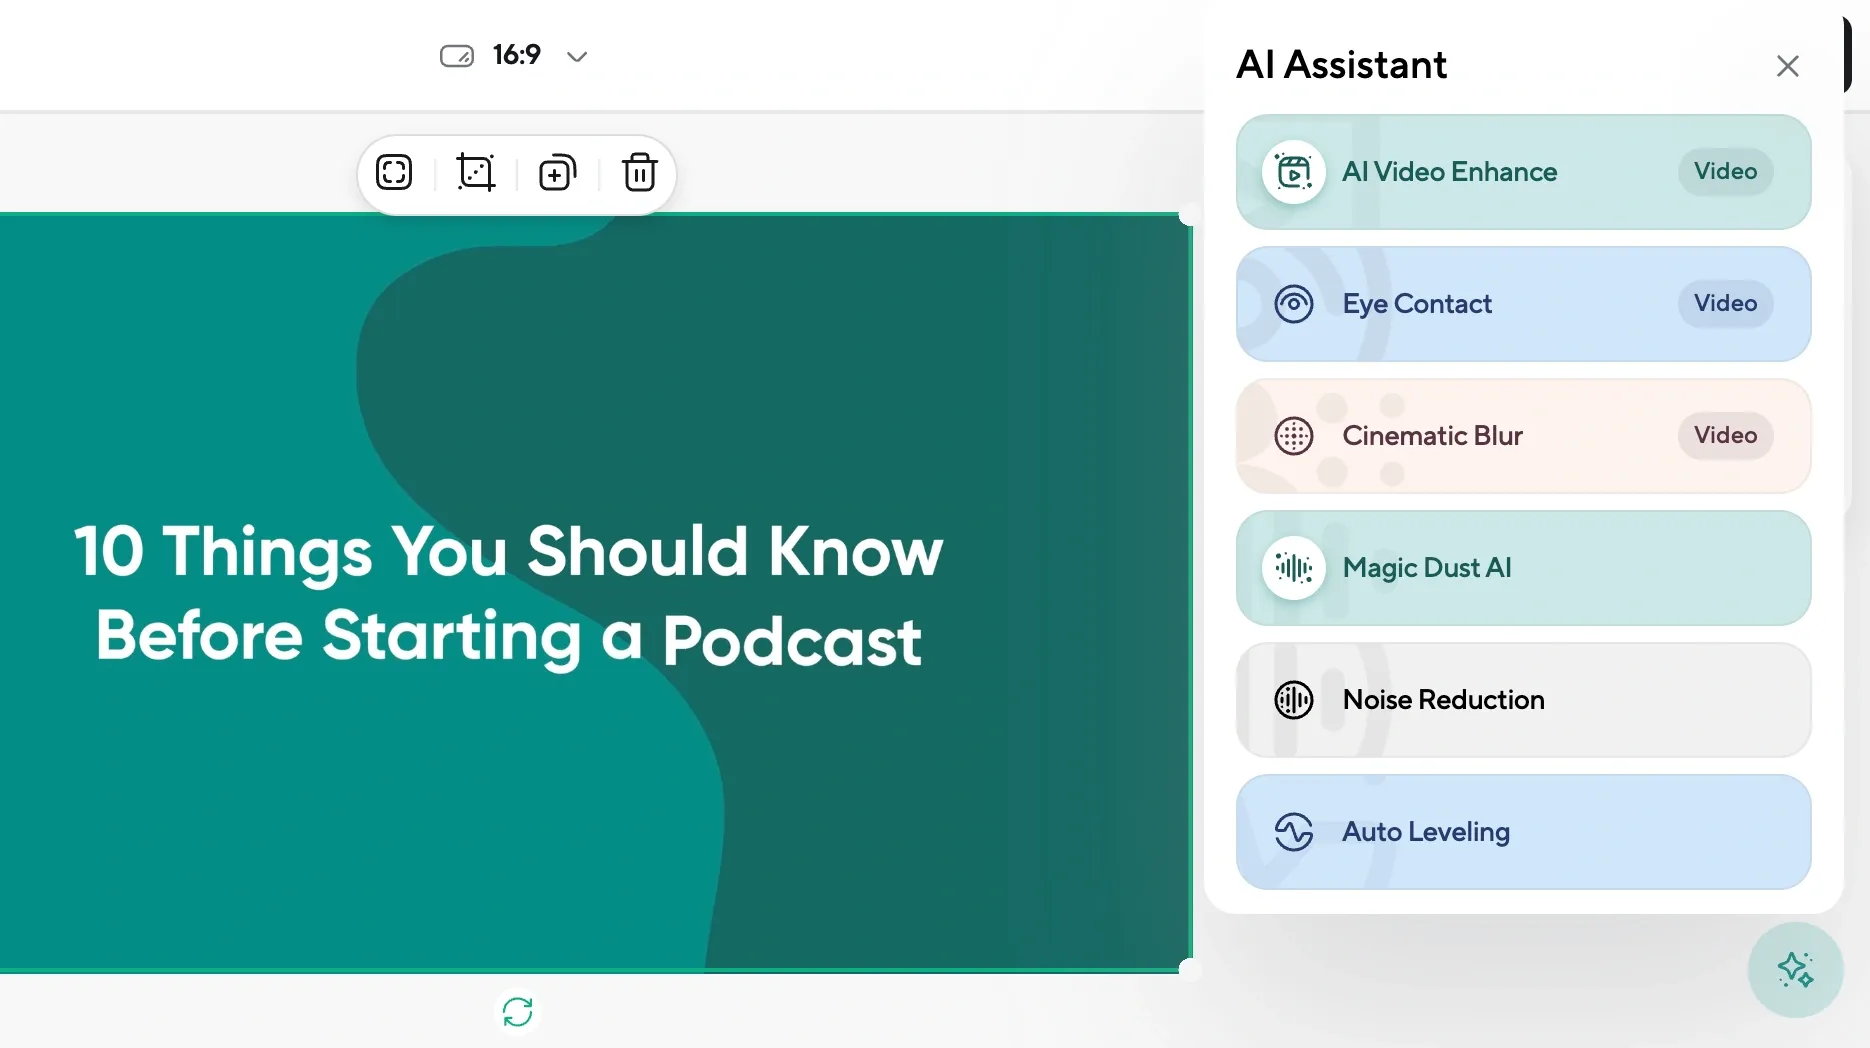
Beyond music, Podcastle offers several features to polish your content:
- AI Audio Cleaner: Automatically removes background noise from voice recordings for a studio-quality sound.
- Video Enhancer: Use AI to improve the visual clarity of your footage, perfect for webcam or screen recordings.
- Stock Visuals & Transitions: Add pre-made visuals, B-roll, and transitions to make your content flow smoothly.
- Layer Multiple Audio Tracks: Combine music with ambient sounds, effects, or multiple voices to build a richer soundscape.
These tools help create a final product that looks and sounds professional, without needing expensive software or editing experience.
Step 6: Export and Upload to YouTube

Once you're satisfied with your edit, click 'Export' to download your finished video. Podcastle offers different resolution options, including HD, so you can choose the best quality for your needs.
Now, your video is ready to be uploaded to YouTube, complete with custom YouTube background music, polished visuals, and perfectly balanced audio.
YouTube Video Editing Tips When Adding Music
Once you’ve figured out how to add music to a YouTube video, the next step is making sure you use it in a way that enhances your content. Music can elevate a video’s emotional tone, boost viewer retention, and make your storytelling more immersive, but only when it’s used thoughtfully. Below are some essential tips for using background music for video effectively.
1. Match the Tempo to Your Video’s Pace
One of the easiest ways to make your video feel professional is to align the tempo of the music with the pacing of your visuals. For example, if your video is fast-paced and energetic, like a workout routine or travel montage, look for a track with a high BPM (beats per minute). For slower, more reflective content, such as tutorials or personal vlogs, a mellow instrumental can provide subtle support without becoming a distraction.
Pay attention to scene transitions as well. If your video includes multiple sections or shifts in tone, you can either find a single track that evolves with the story or use multiple pieces of free background music for videos to match different moods. This keeps the energy consistent and supports the narrative flow.
2. Choose the Right Tone for Your Content
Music sets the emotional tone. Before choosing a track, think about the message you want to convey. Is your video playful, dramatic, inspiring, or educational? Let that guide your music selection. For example, a high-energy pop track might work well for a fashion haul or behind-the-scenes vlog, while an ambient soundscape is better suited for a calm how-to video.
You should also consider your audience. What would resonate with them? A younger audience might enjoy trendy beats or instrumental remixes, while a more professional crowd might prefer cinematic scores or soft piano tracks. The goal is to make your viewers feel something without drawing attention away from your content.
3. Balance Music with Voice and Sound Effects
One of the most common mistakes when adding background music for video is letting it compete with other important audio elements. Your audience should never have to strain to hear a voiceover or dialogue because the music is too loud.
Start by setting the music at a lower volume than your speech track. Most video editors, including tools like Podcastle, offer volume sliders or decibel adjustments that let you fine-tune the mix. You can also use fade-in and fade-out effects to ease the music in and out during key moments, which helps create smoother transitions and a more polished finish.
If your video contains intense sound effects, like applause, action scenes, or crowd noise, reduce the music volume during those moments or mute it temporarily. This keeps the audio from becoming overwhelming and ensures each element has space to shine.
4. Test and Tweak for Best Results
Finally, don’t be afraid to experiment. Sometimes, the most engaging videos come from unexpected music choices or creative pairings. Try swapping out different tracks, layering soft sound effects underneath, or even changing the pitch slightly to see how it affects the mood. Watch your video from start to finish and listen with headphones to catch any audio clashes you might have missed.
Using free background music for videos is a great way to elevate your YouTube content without breaking the bank. Just remember that the goal is to support the visuals and narration, not overpower them. By thinking critically about how to add music to a YouTube video, you’ll create content that feels cohesive, professional, and engaging every time.
Final Thoughts
The right music can give your video rhythm, emotion, and structure in a way that visuals alone sometimes can’t. While YouTube Studio gives you a solid starting point with its free music library, having access to tools like Podcastle opens up more creative control and makes it easier to get the sound just right.
The most important thing is to treat music as part of the storytelling, not as background noise to fill silence. When you approach it thoughtfully (matching tempo, balancing audio levels, choosing music that fits the tone) it shows. Your audience may not always be able to explain why your video felt better than someone else’s, but they’ll notice. And that difference can go a long way.