Sometimes a small animation does all the talking. A perfectly timed GIF in the corner of your video, or looping quietly in the background, can turn something simple into something magnetic. All without needing to shoot or animate anything yourself.
And with Podcastle, it takes almost no time to do. The whole process lives inside one clean interface, with stock visuals, AI tools, and an editor that’s built for creators who just want to get things done in a jiffy.
Let’s walk through the steps.
Add a GIF to a Video in Podcastle
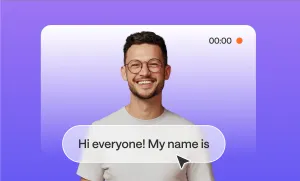
Step 1: Upload your video or audio file to Podcastle
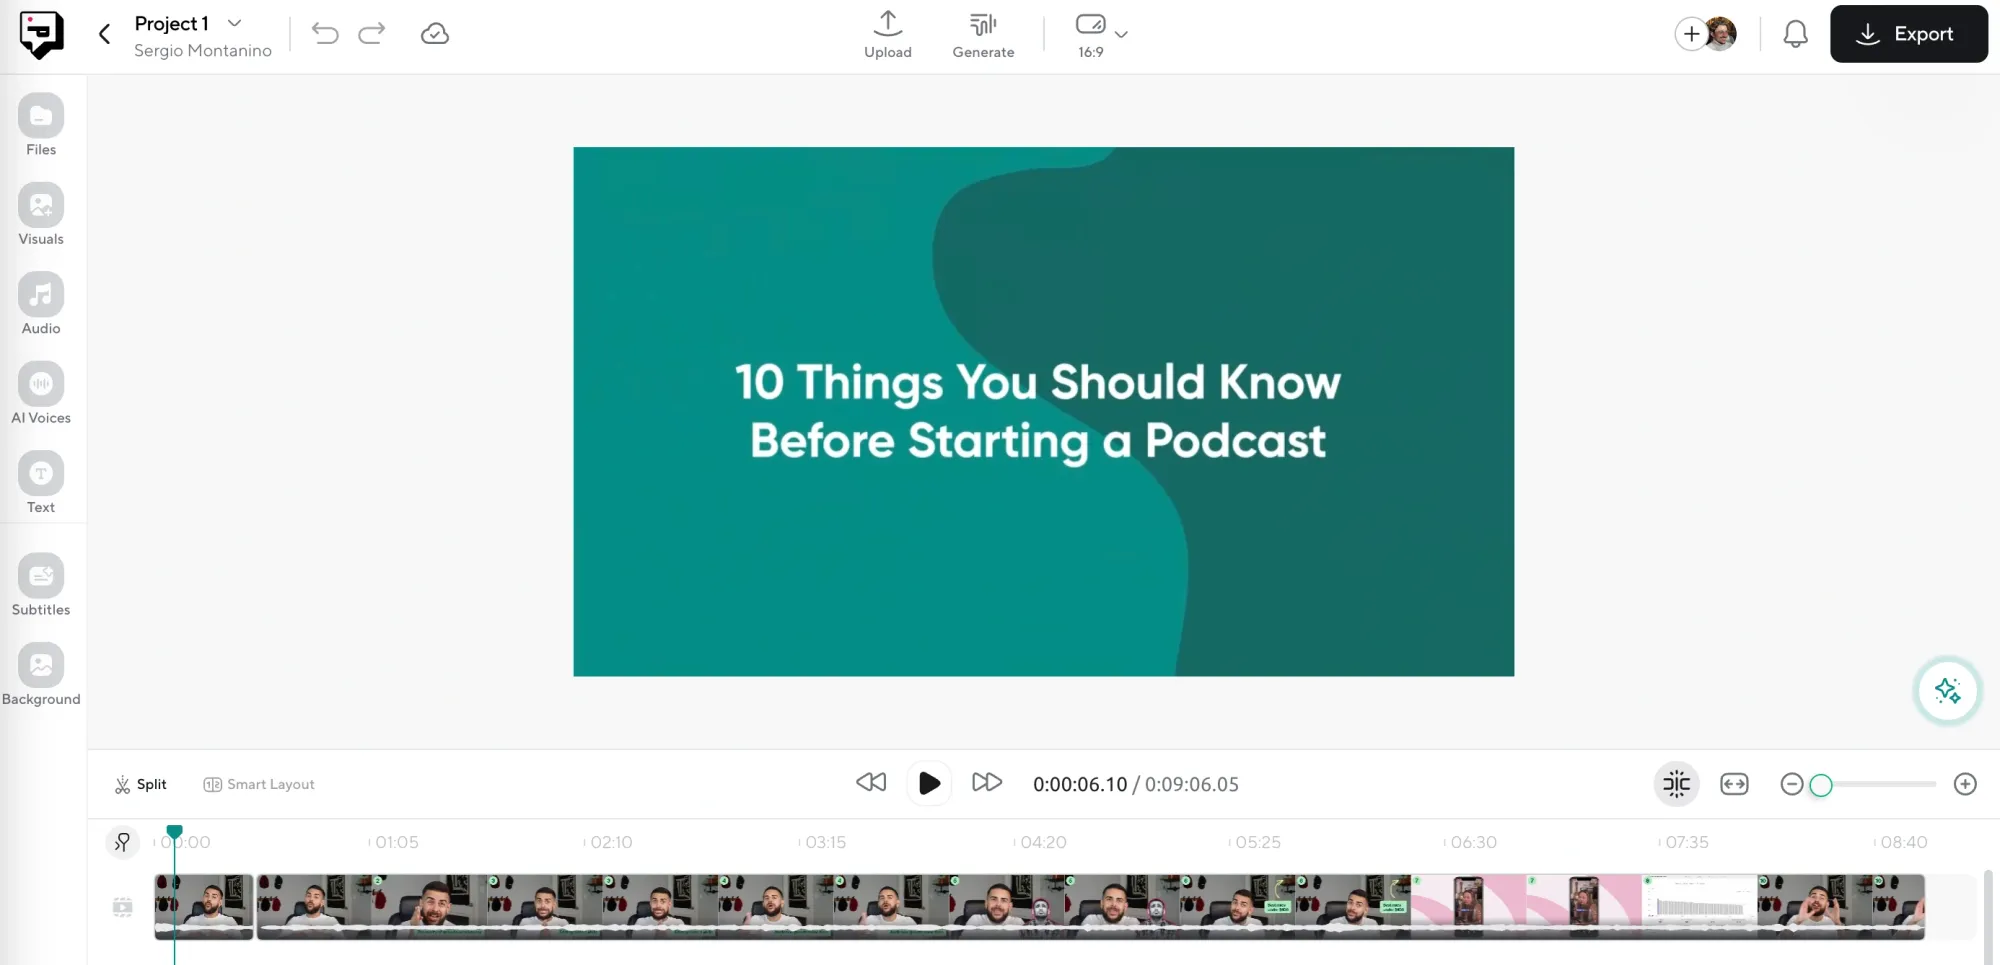
First things first, log into your Podcastle account and open up the Video Editor. Upload your file, and you’ll see it appear on the timeline right away. You don’t even need to wait for it to fully upload before editing, it processes in the background, so you can get right to work.
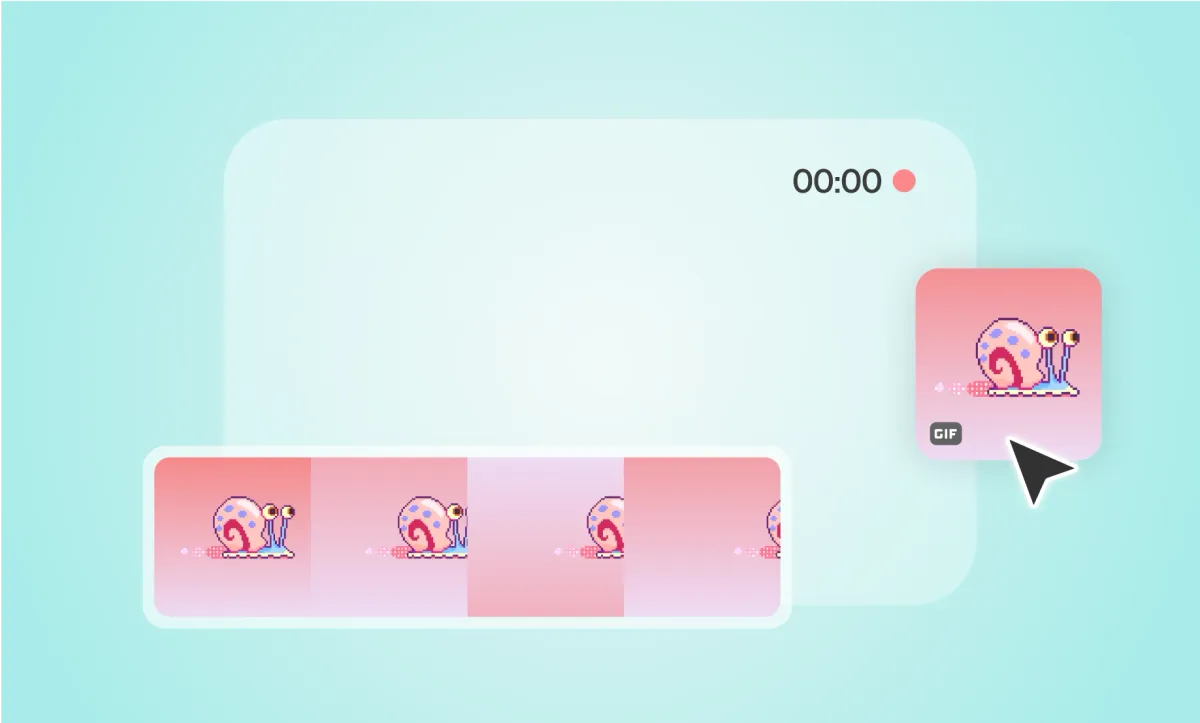
Step 2: Open the “Visuals” tab and browse the GIF library
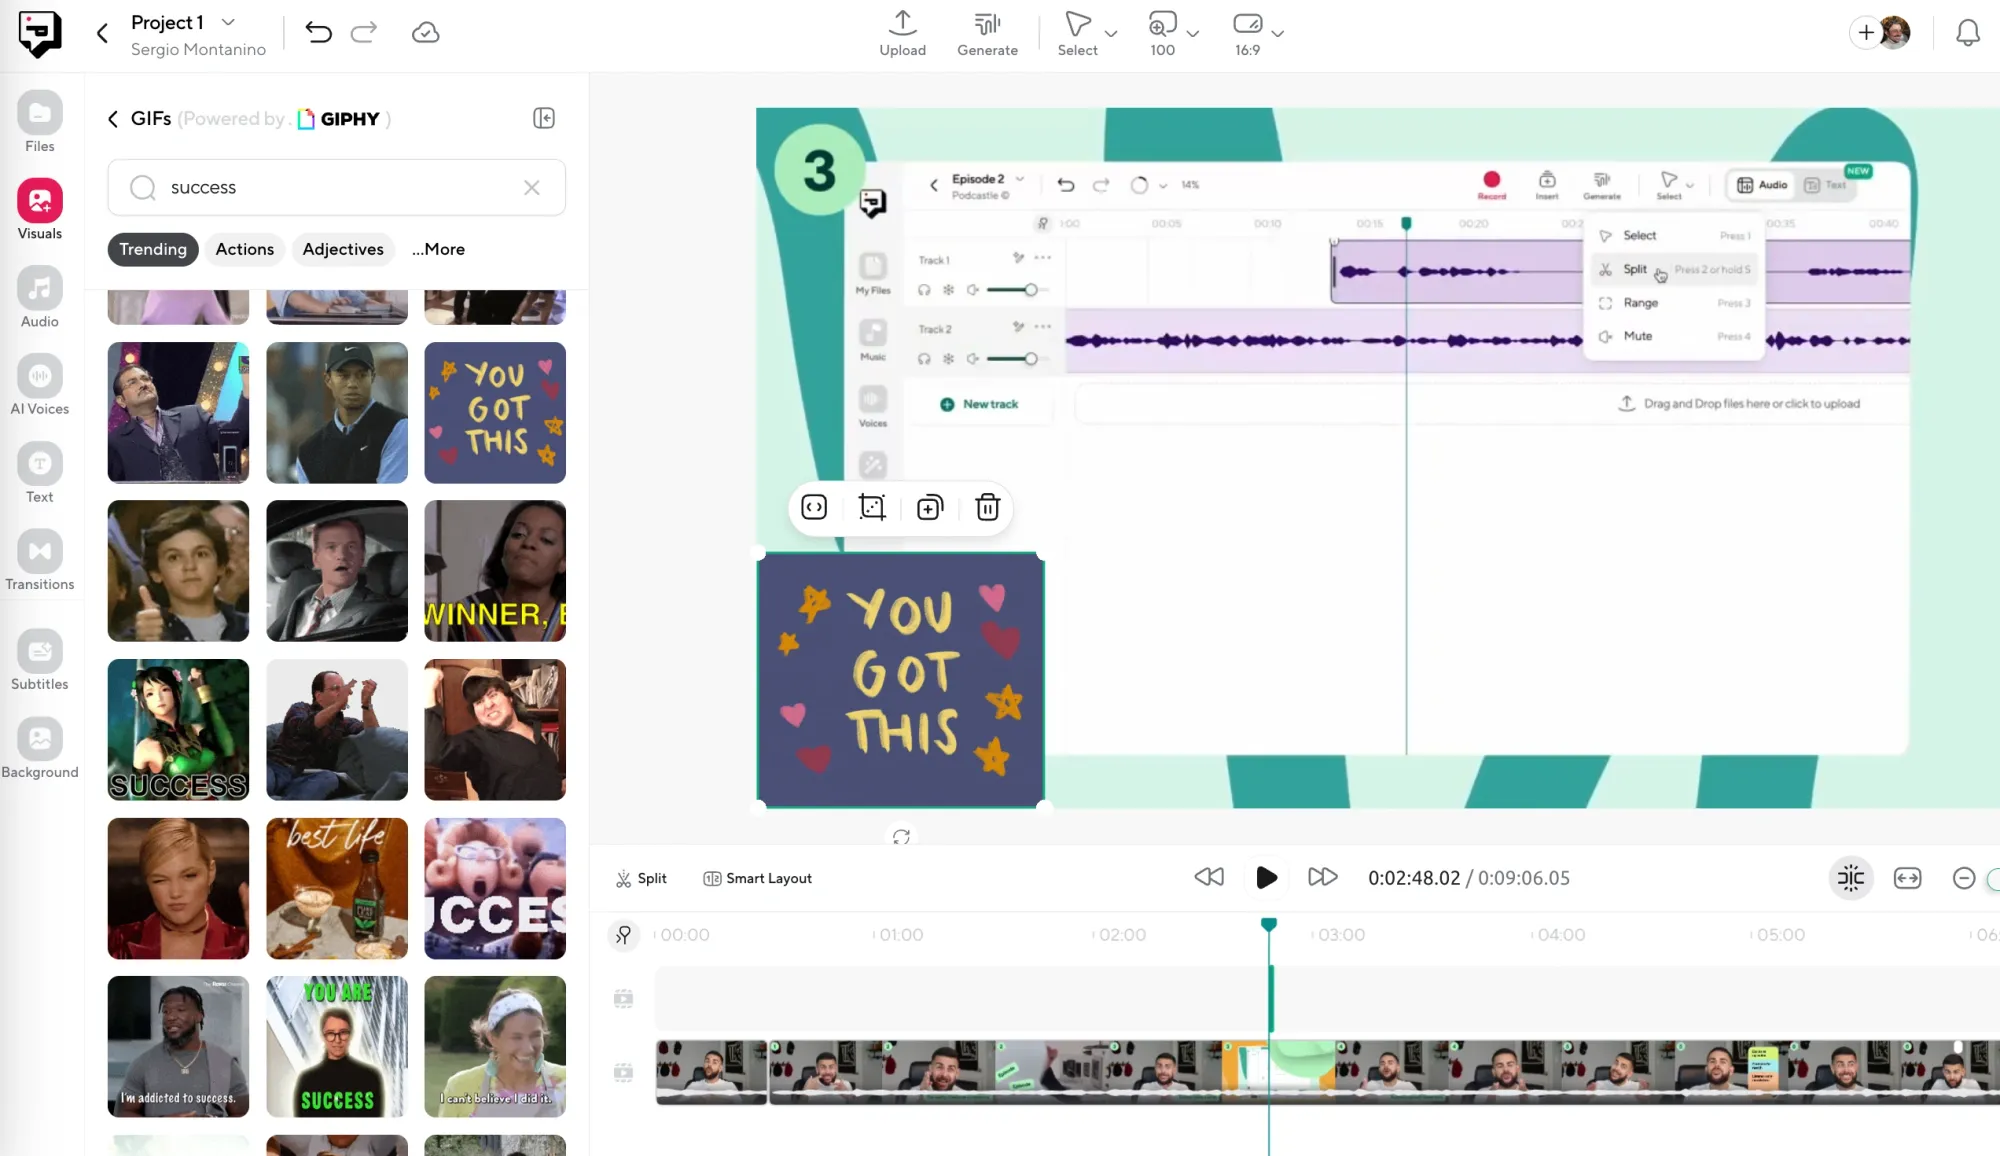
On the left side of the editor, you’ll see a panel labeled “Visuals.” Click that, and you’ll get access to a curated library of animated GIFs. You can search by keyword, mood, or just scroll until something catches your eye. Once you find one you like, just drag it onto your canvas, and it’ll land exactly where you drop it.
The best part? You’re not limited to GIFs alone. That same “Visuals” tab also gives you access to stock videos, still images, and a selection of clean solid-color backgrounds to choose from.
Step 3: Review, enhance with AI, and export
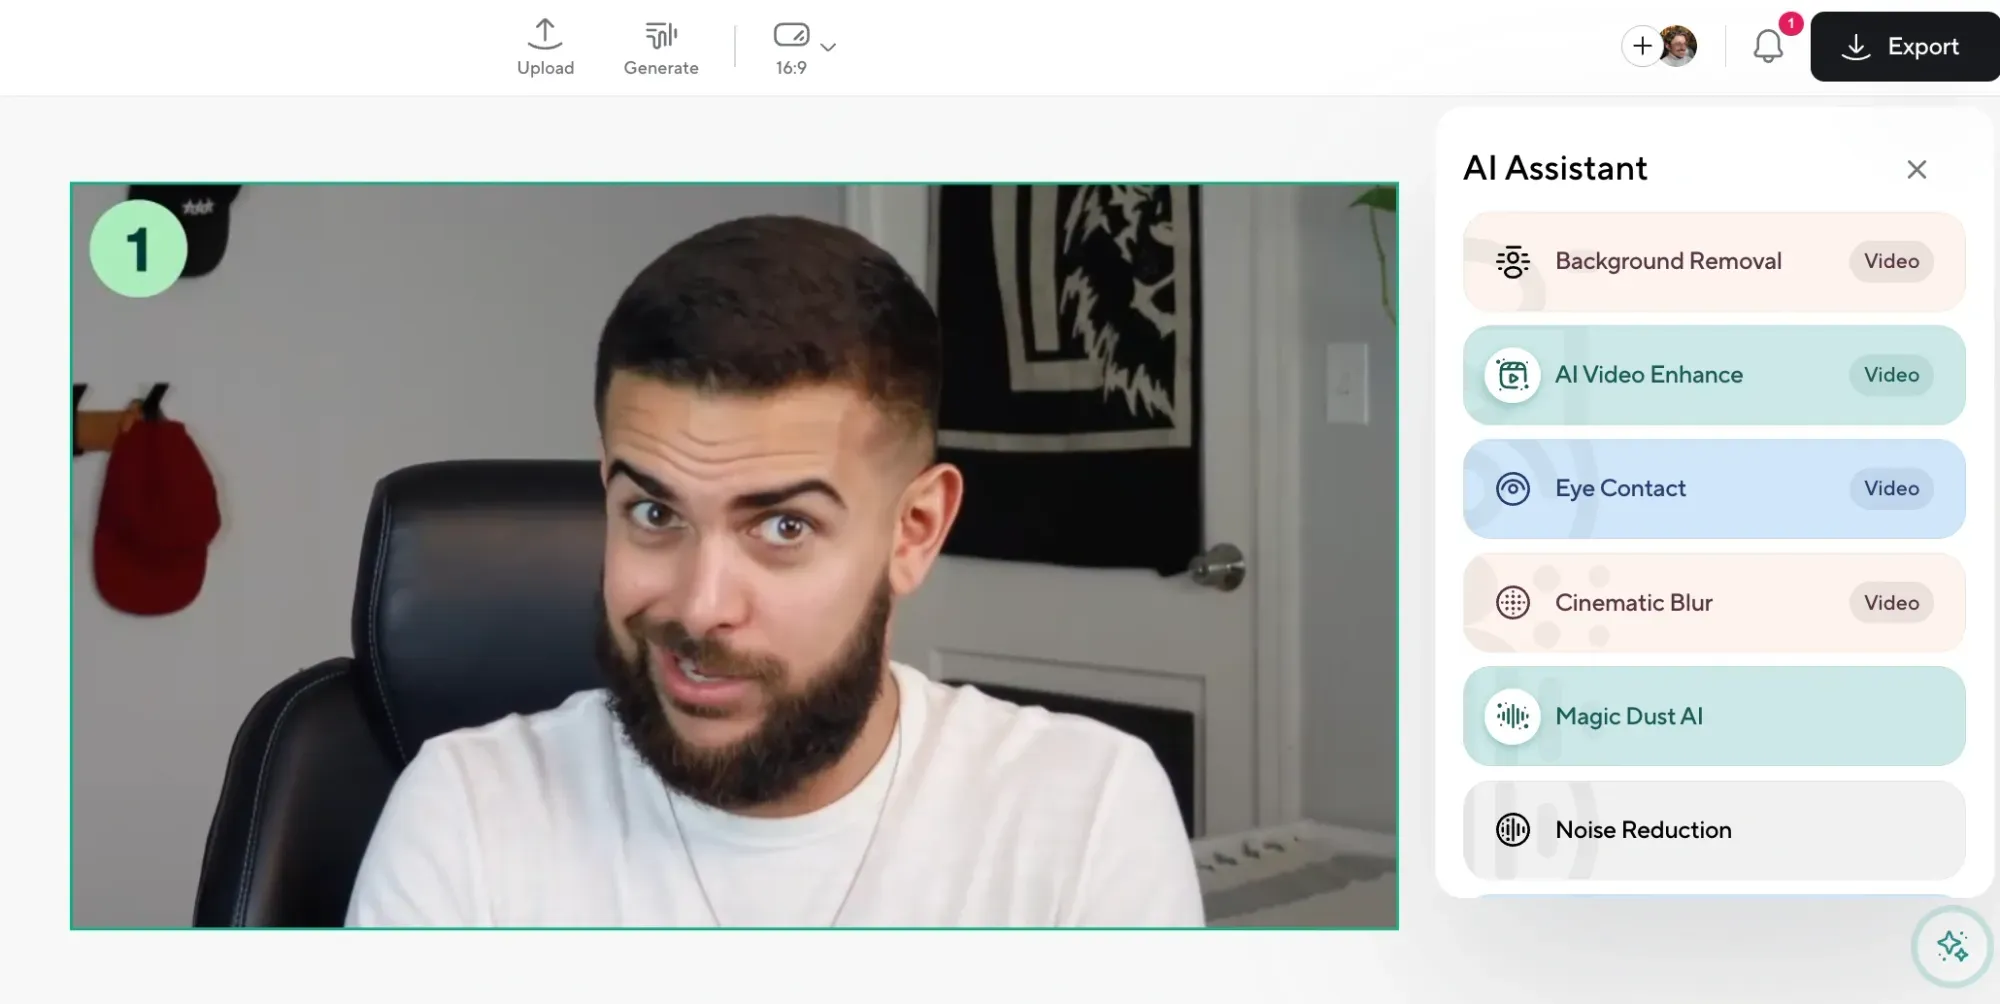
Using Podcastle’s AI-powered tools, you can enhance the audio, remove background noise, or make subtle improvements to clarity. When it all feels right, click Export. In a few seconds, you’ll have a downloadable video ready to post or share.
5 Troubleshooting Tips for GIFs in Podcastle
Sometimes, the simplest tools hit a snag. If your GIF isn’t behaving the way you expected (maybe it’s not looping, showing up weird, or feels out of sync) don’t panic. Most of the time, it takes just one small tweak to get things back on track.
1. If the GIF looks frozen, try dragging it again from the library
Every now and then, a browser hiccup or network delay can cause a visual to appear blank or stuck. Just delete the one that’s not playing right, go back to the “Visuals” tab, and drag in a fresh version. It usually fixes the issue instantly.
2. Make sure the GIF is long enough for your video
If your video is 2 minutes but the GIF only loops for 5 seconds, it might look like it disappears partway through. To fix this, click on the GIF and drag its edge to extend it across the timeline. You can make it loop for as long as you need.
3. Check that the GIF is layered correctly
If you added multiple visuals, there’s a chance your GIF is hiding behind something else. Right-click the visual layer or use the “Bring to Front” option in the timeline to move it where it belongs. A missing GIF is often just hiding in plain sight.
4. Resize it gently (don’t stretch it too thin)
Dragging a tiny GIF across a huge canvas might distort it. If your GIF looks blurry or pixelated, try keeping its size closer to the original dimensions, or place it in the corner of your video instead of filling the entire frame.
5. Try exporting a test clip
When in doubt, export a short preview. Sometimes the editor shows a small glitch that doesn’t appear in the final file. Download a short clip to check if everything’s running smoothly.
5 Advanced Video Editing Tips for GIFs
Once your GIF is in place, don’t stop there. If you’re already building something visual, this is the perfect time to make the whole video feel tighter, cleaner, and more watchable.
1. Time your GIFs and visuals to key moments
Instead of placing a GIF randomly, line it up with something important. Maybe you’re making a point, cracking a joke, or reacting to a comment. In any case, use the visual timeline to drop in a GIF that hits right when the moment lands. It’s a small move that can make your video feel sharper and more intentional.
2. Use background visuals to build a mood, not just fill space
The stock video library isn’t just for filler. Think about how the tone of your visuals matches your topic. A slow-moving landscape, a pulsing gradient, a crowded street. These all create different feelings in the background. Try using them to support the vibe you want your video to give off.
3. Layer multiple elements for a more dynamic scene
You’re not limited to one GIF or background. You can combine a static background with a looping visual, place a GIF in one corner while a stock clip runs behind it, or use shapes and overlays to create depth. Try experimenting with layering, but do make sure nothing distracts from your main content.
4. Keep your visuals moving, but not chaotic
A little motion grabs attention. Too much motion makes people tune out. If your GIF is busy, keep the background simple. If your background is animated, try using a static overlay or image to ground it. Balance matters more than flash, especially if your video is longer than a few seconds.
5. Add title cards or captions for structure
Even if your video is casual, adding short text moments like a quick headline, a section break, or an animated caption helps guide the viewer through the content. You can use Podcastle’s text tools to drop these in and keep your audience oriented, especially if they’re watching without sound.
Why Bother Adding a GIF?
Sometimes visuals speak louder than edits. You might be talking about a reaction and want to add one. You might be explaining a concept and find a loop that illustrates it better than words ever could. Or maybe you’re just trying to keep the screen alive while someone listens.
GIFs are small, fast, and expressive. They’re lightweight enough to layer, but attention-grabbing enough to stand out when used right. And because Podcastle’s editor lets you reposition, resize, and layer multiple elements at once, you can treat GIFs as subtle accents or center-stage visuals. It’s entirely up to you.
Final Thoughts
Adding a GIF to your video doesn’t have to be a whole production. With Podcastle, it’s easy to bring your content to life, whether you’re dropping in a reaction, building out a full visual scene behind your podcast audio, or just trying to keep your viewers’ eyes moving. And when you’re working in the same space where you can enhance your audio, clean up background noise, and stitch everything together in one place, the process feels a lot less like work and a lot more like creating.
So if you can give them something fun, sharp, or surprising to look at while your voice carries the story, you’re already one step ahead!