Adding subtitles to your video does a lot more than make it accessible.
Subtitles help people follow along in noisy environments, they improve viewer retention, and they make your content easier to find through search engines. The good news is that you don’t need advanced editing skills or expensive software to add them. There are tools and methods that anyone can use in just a few steps.
Here are five of the easiest ways to add subtitles to a video.
5 ways to add subtitles to videos
The way you add subtitles depends on what matters more to you: speed, accuracy, or control. These five methods cover each option.
Method 1: Add Subtitles with Podcastle
If you want the quickest way to get professional subtitles, Podcastle makes it simple. The process takes minutes, and you end up with clean subtitles that match your video’s style. It’s the most straightforward method if you want speed without giving up quality.
1. Upload your video.
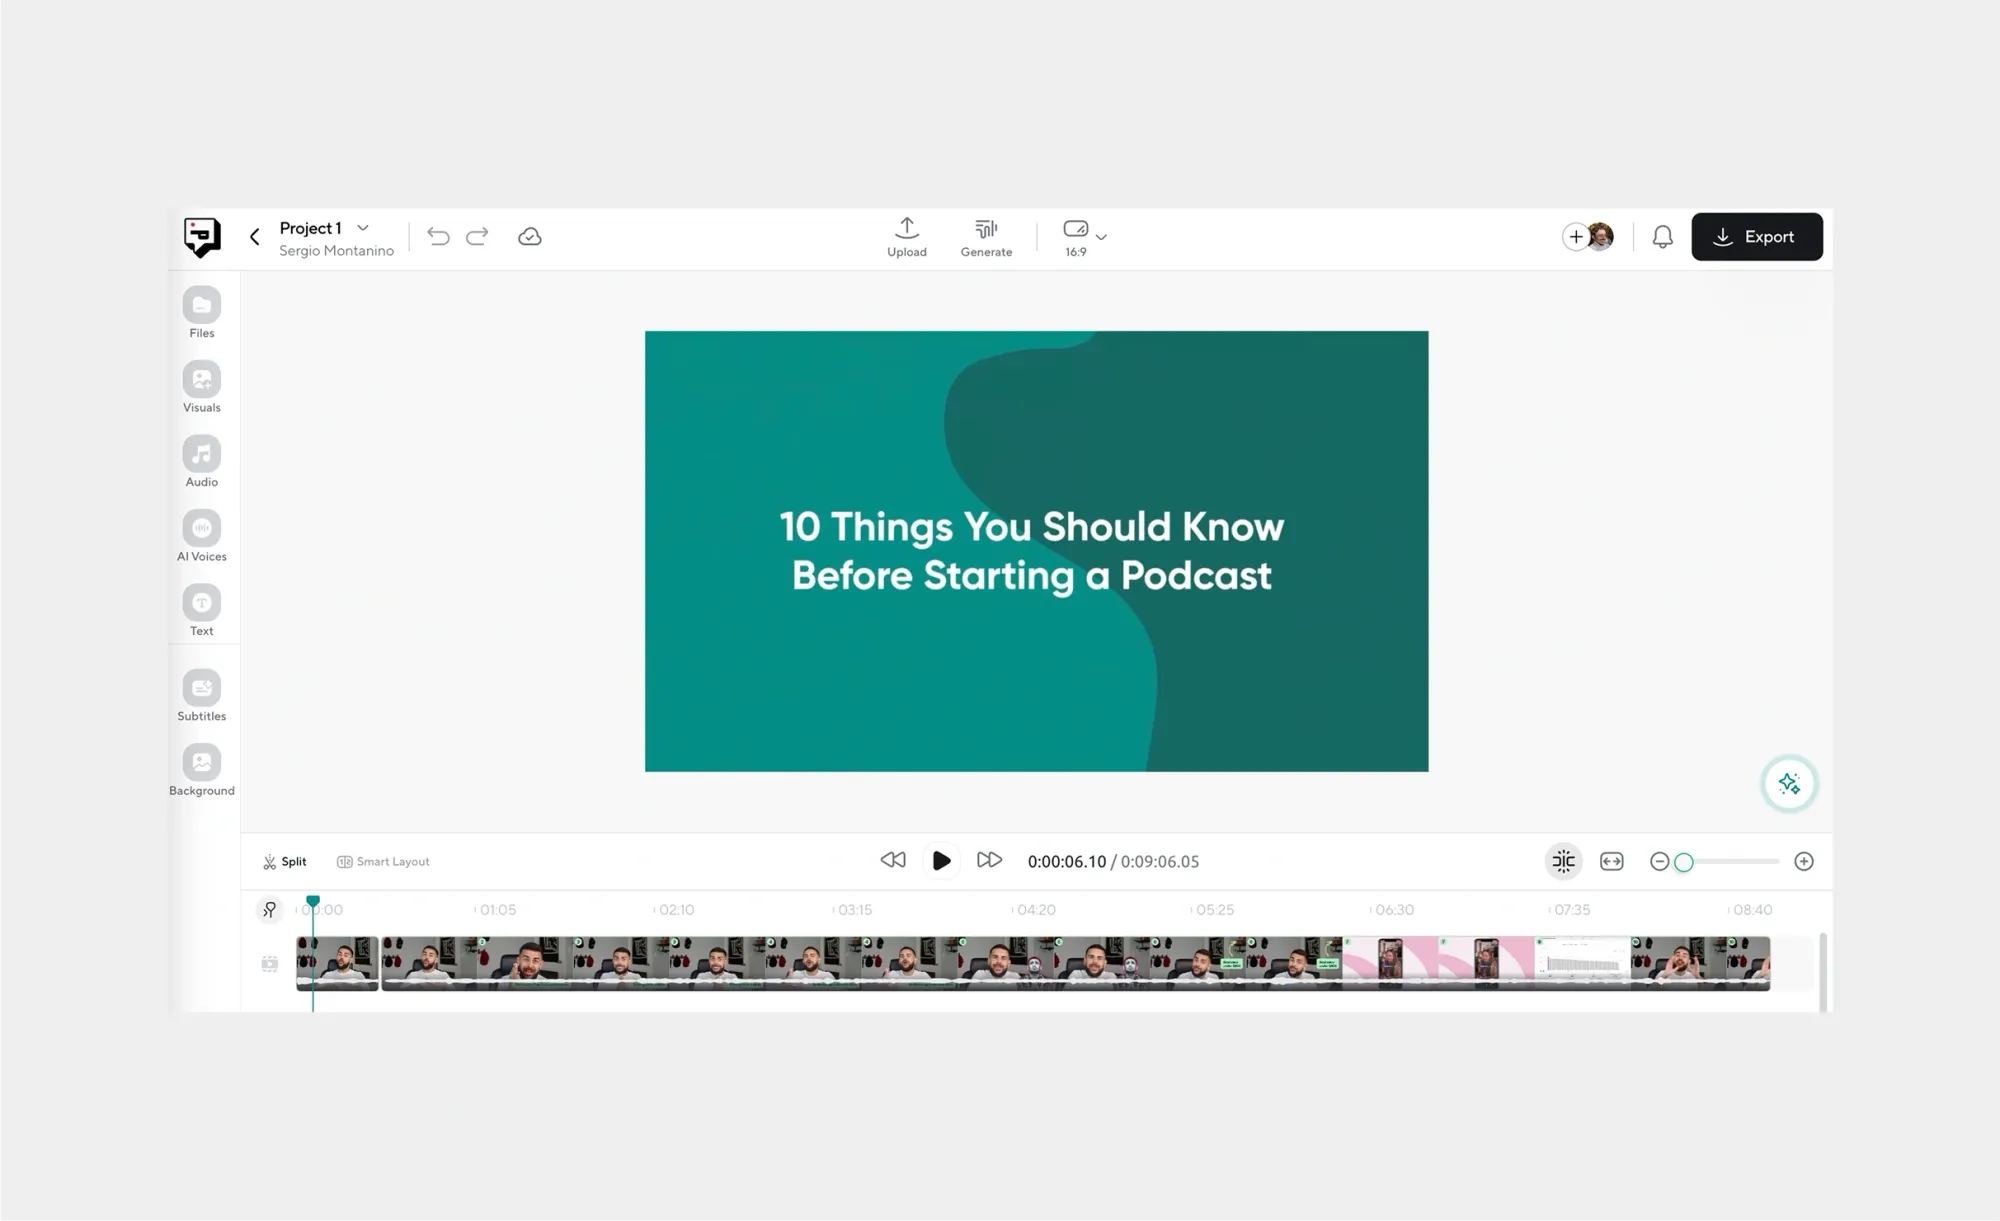
Start by dragging and dropping your video into Podcastle. The platform works right in your browser, so there’s no software to install or long setup time.
2. Generate your subtitles

Podcastle automatically transcribes your audio and turns it into subtitles. This saves you from typing everything out by hand, which can be one of the most time-consuming parts of the process.
3. Pick your subtitle font

Choose a font and style that fits your content. Clear, easy-to-read text works best, especially if your video will be watched on smaller screens.
4. Make any final adjustments
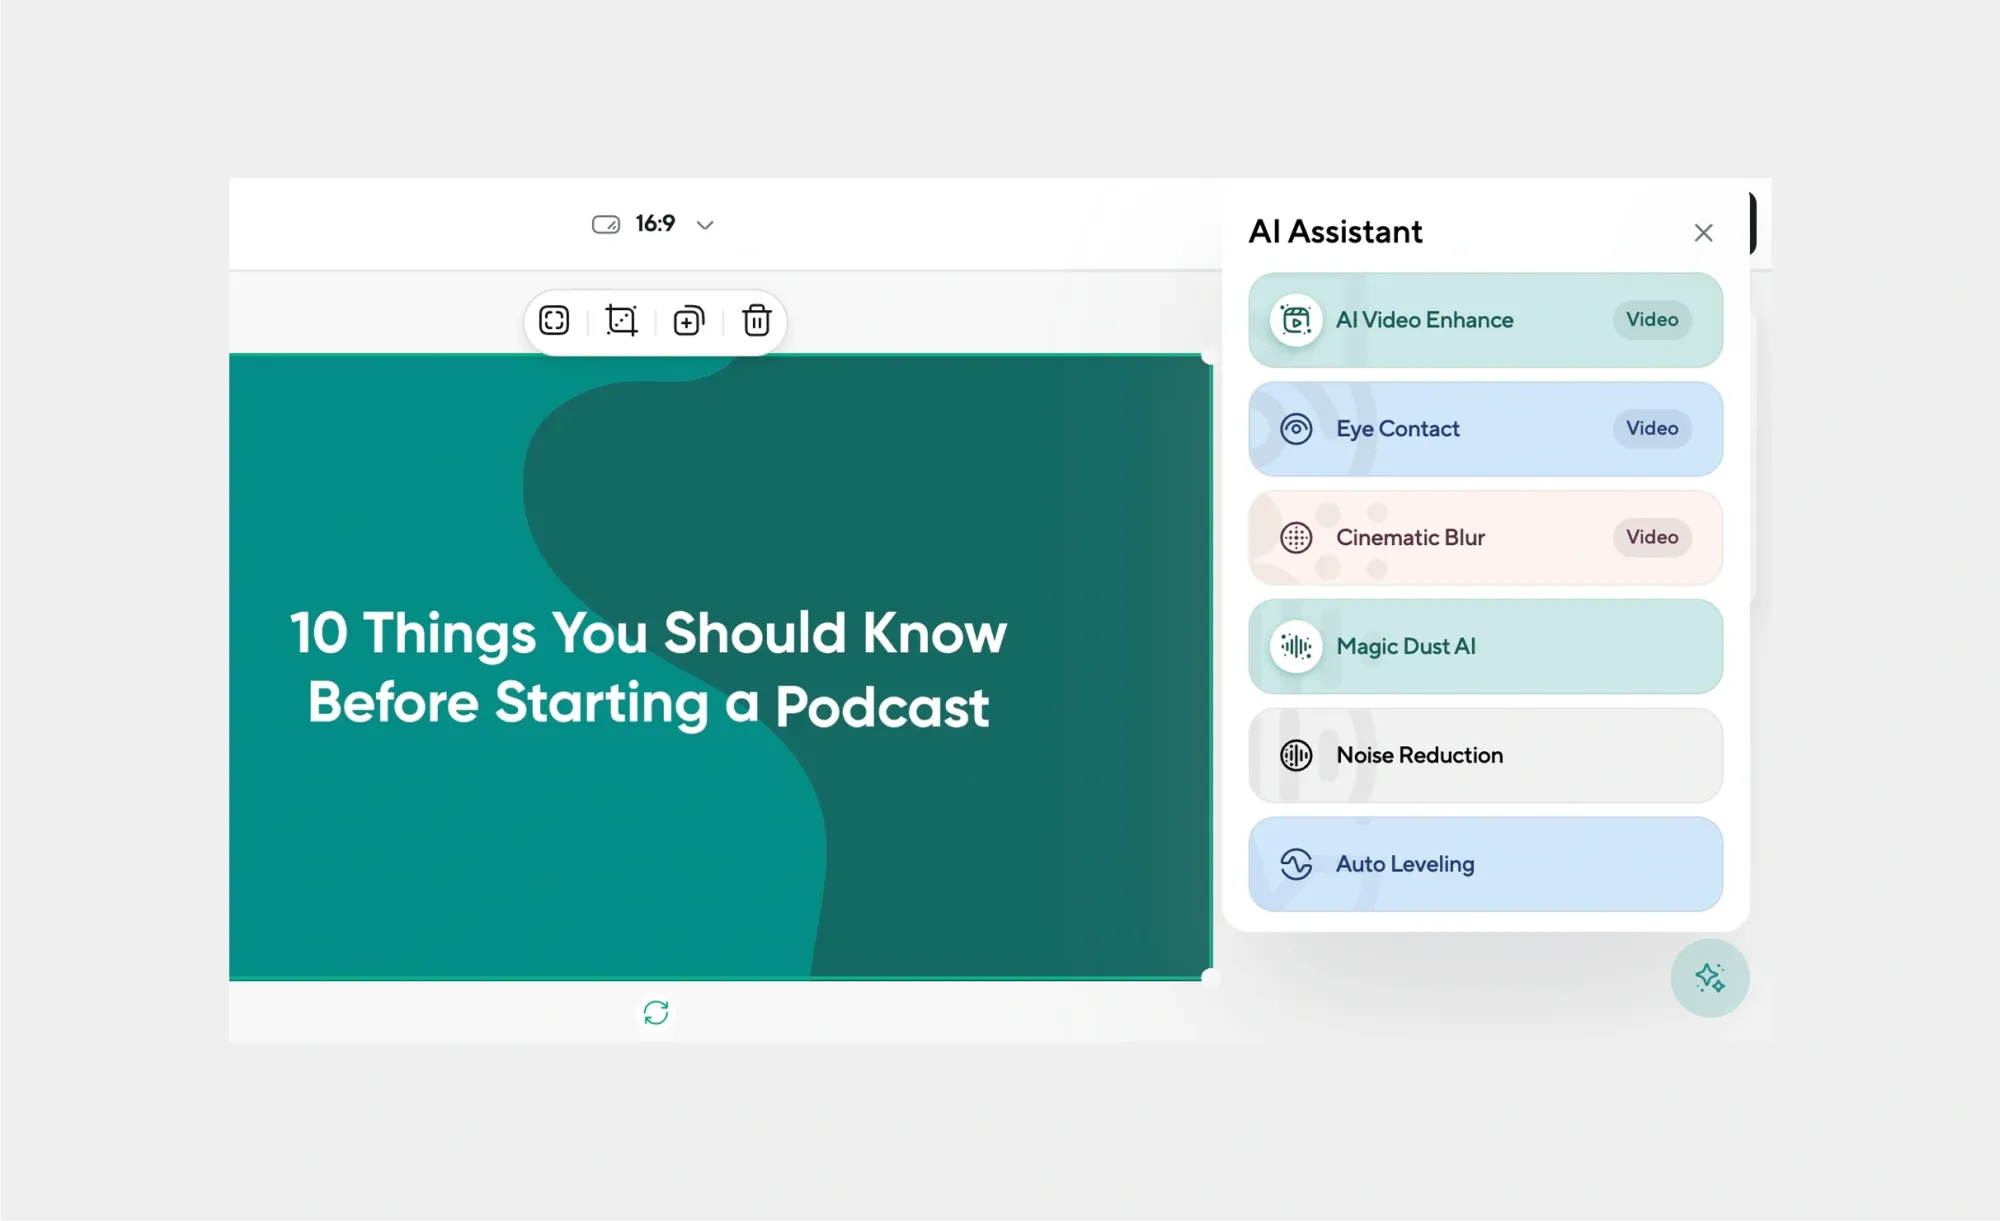
Podcastle comes packed with a handful of AI features to instantly enhance your videos, remove background, improve audio quality, and more. You can also choose from a massive library of royalty-free music and sound effects, stock videos, images and GIFs, and transitions to make your videos pop.
5. Export your video with subtitles ready to go.
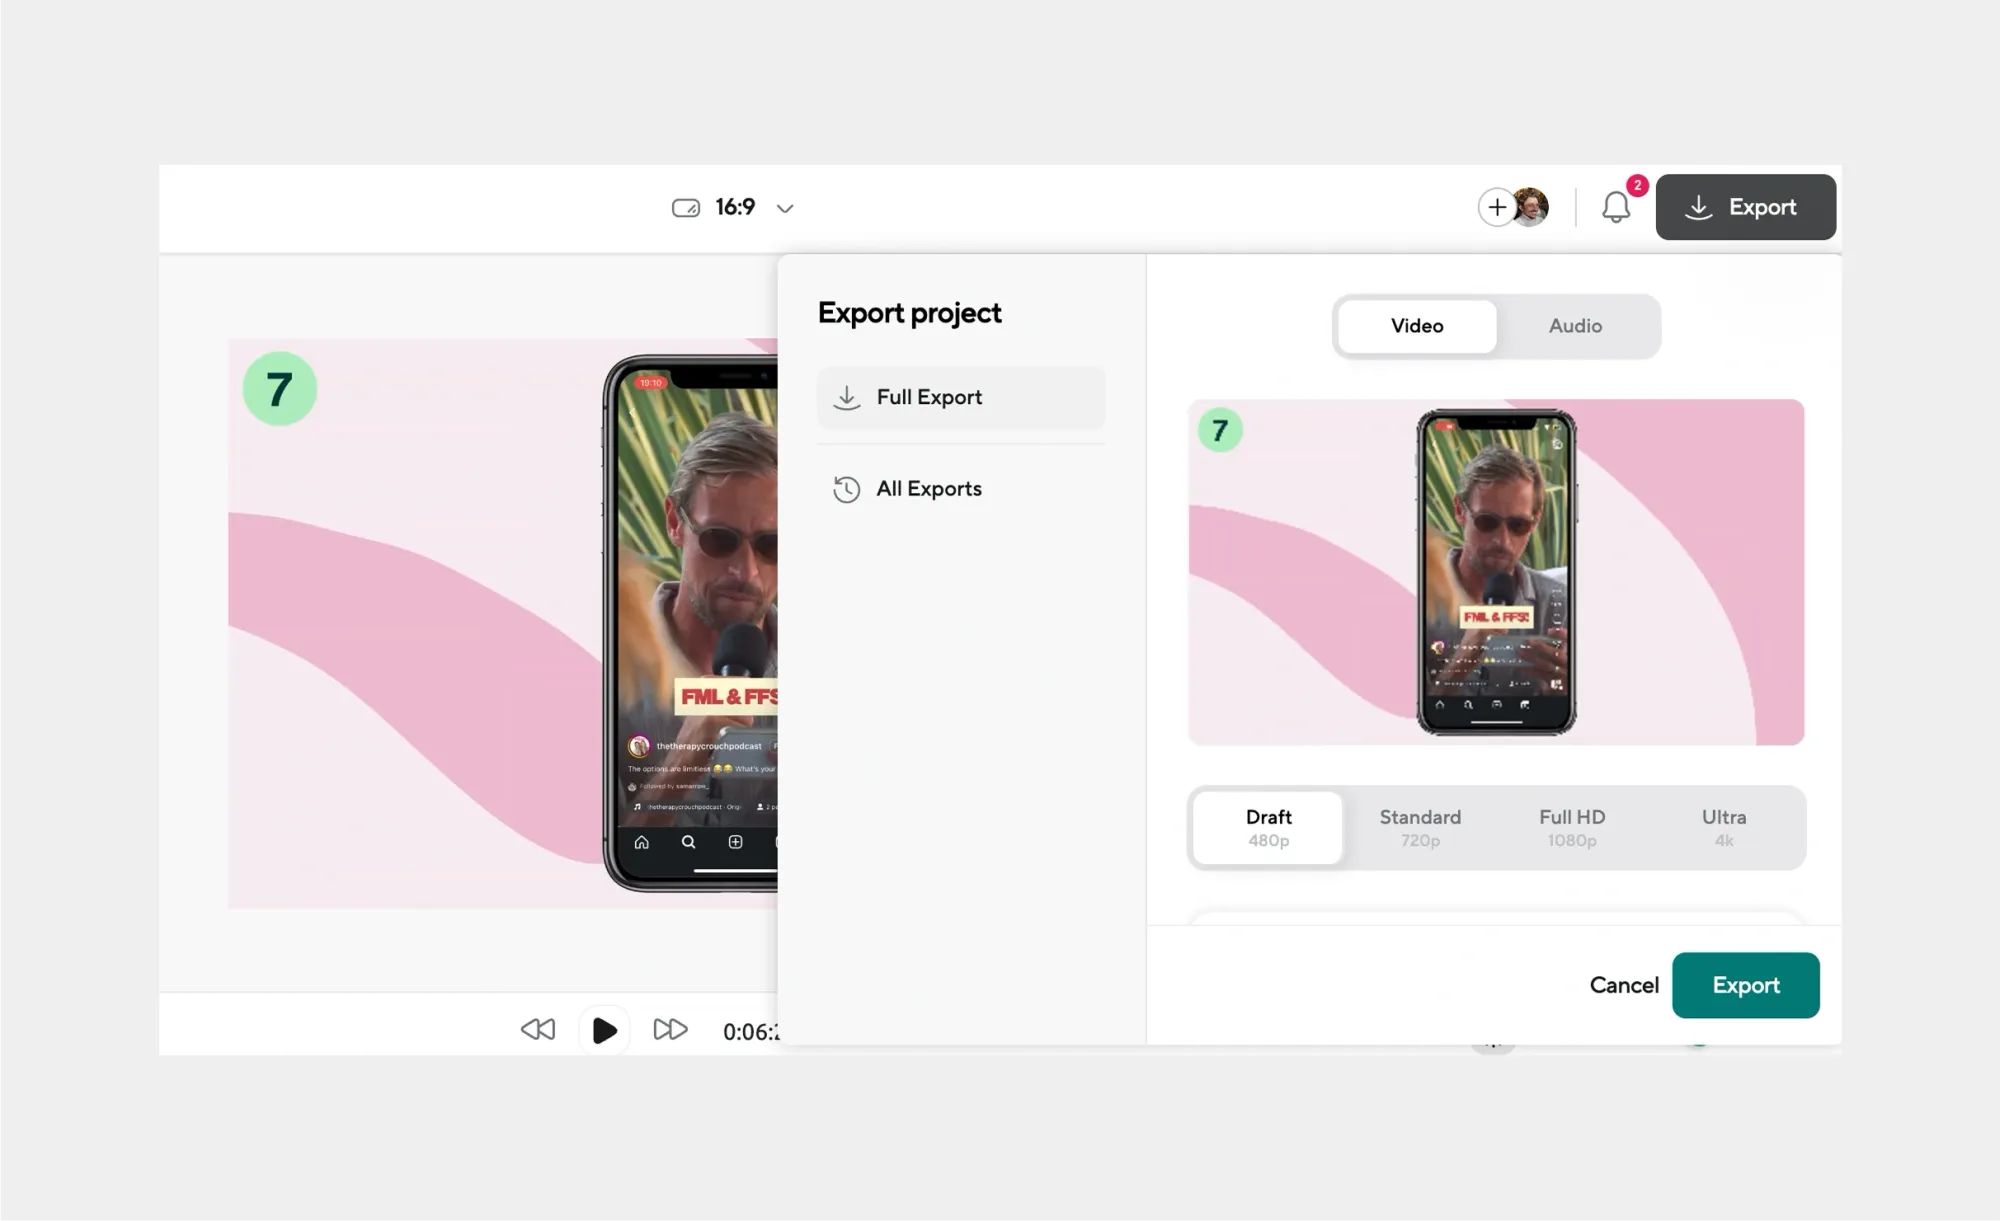
Once everything looks good, export your video. You’ll have a finished file with subtitles already synced, ready to upload to YouTube, social media, or anywhere else.
Method 2: Use YouTube’s Built-In Subtitles Tool
If you’re uploading your video to YouTube, you already have a free subtitle option built in.
- Upload your video to YouTube.
- Go into YouTube Studio and click on the Subtitles tab.
- Let YouTube auto-generate captions.
- Edit the text to fix any mistakes.
This tool is great for creators who publish directly to YouTube. It won’t always be perfect, but editing inside YouTube Studio is quick and doesn’t require extra software.
Method 3: Try Kapwing
Kapwing is an online video editor that comes with an auto-caption feature.
- Upload your video to Kapwing.
- Select auto-captions to generate subtitles.
- Adjust the style with different fonts, sizes, and colors.
- Export your video with subtitles burned in.
Kapwing is entirely browser-based, which makes it easy to use on almost any device. It’s especially handy for short-form content like TikToks, Instagram Reels, or YouTube Shorts.
Method 4: Use VEED.io
VEED.io is another online editor that makes subtitles fast and easy.
- Upload your video.
- Use the Auto Subtitles feature.
- Edit any spelling or timing issues.
- Customize how the text looks and then export.
VEED has a clean interface that feels beginner-friendly. It’s popular among creators who need a simple way to polish videos without getting into complicated software.
Method 5: Edit Manually with VLC Media Player
If you’d rather have complete control and don’t mind a little extra work, VLC lets you handle subtitles manually.
- Open your video in VLC.
- Create or download a subtitle file (.srt).
- Add and sync the subtitles with your video.
- Save or play the video with subtitles turned on
This method takes more effort than the others, but it’s completely free and flexible. You can fine-tune every detail of the subtitles if you have the time.
Tips for better subtitles
Tools make the process easier, but good subtitles still need a bit of care. Here are a few tips to help you get them right.
1. Pick the best font for subtitles
Subtitles should be clear, not decorative. Sans-serif fonts like Arial, Helvetica, or Open Sans are usually the safest bet. Keep the size large enough to read on a phone screen and stick with high-contrast colors like white or yellow against a dark shadow or outline.
2. Check for typos carefully
Auto-captioning tools save time, but they miss words more often than you’d think. Proper nouns, slang, and accents can trip them up. Always scan through the text before exporting. A good trick is to play the video at a slower speed and read along with the subtitles to catch errors.
3. Know the difference between subtitles and captions
Subtitles assume the viewer can hear the audio but may not understand the language. Captions are designed for viewers who can’t hear the audio at all, so they include extra details like [music playing] or [laughter]. If you’re publishing on a platform where accessibility matters, captions are the better choice.
4. Keep timing in mind
Subtitles that flash too quickly or linger too long are distracting. Aim for one to two lines on screen at a time, synced closely with the dialogue. Most editors handle this automatically, but it’s worth double-checking the flow.
5. Don’t overload the screen
Viewers need time to watch what’s happening, not just read text. Break long sentences into shorter chunks and avoid cramming too much into a single frame.
6. Think about your audience
If you’re reaching international viewers, consider translating your subtitles into multiple languages. Many tools now offer built-in translation, and it can make a huge difference in broadening your reach.
What Is an SRT File?
If you’ve spent any time looking into subtitles, you’ve probably come across the term “SRT file.” It’s one of the most common ways to store subtitles, and most platforms and editors support it.
What does SRT stand for?
SRT stands for SubRip Subtitle file. The name comes from SubRip, a program that was originally created to “rip” subtitles from movies and TV shows. Today, SRT has become the standard subtitle format because it’s lightweight, easy to edit, and widely compatible.
How to create an SRT file
You don’t need special software to make an SRT file. Any plain text editor will do. Here’s the simplest way to create one:
- Open a text editor like Notepad or TextEdit.
- Write the subtitle number (starting with 1).
- Add the start and end time in this format: 00:00:01,000 --> 00:00:04,000.
- Write the subtitle text below it.
- Leave a blank line before moving to the next subtitle.
- Save the file with the extension .srt.
That’s it. Once you upload the SRT file alongside your video, the platform or player will know when to display each line of text.
Is SRT the only subtitle format?
No, SRT isn’t the only one, but it is the most popular. Other formats like VTT (WebVTT), SSA, and SUB exist, and some have extra features such as styling or positioning. That said, SRT remains the go-to because it’s simple and works almost everywhere, from YouTube to VLC to video editors like Podcastle.
Create subtitles with Podcastle
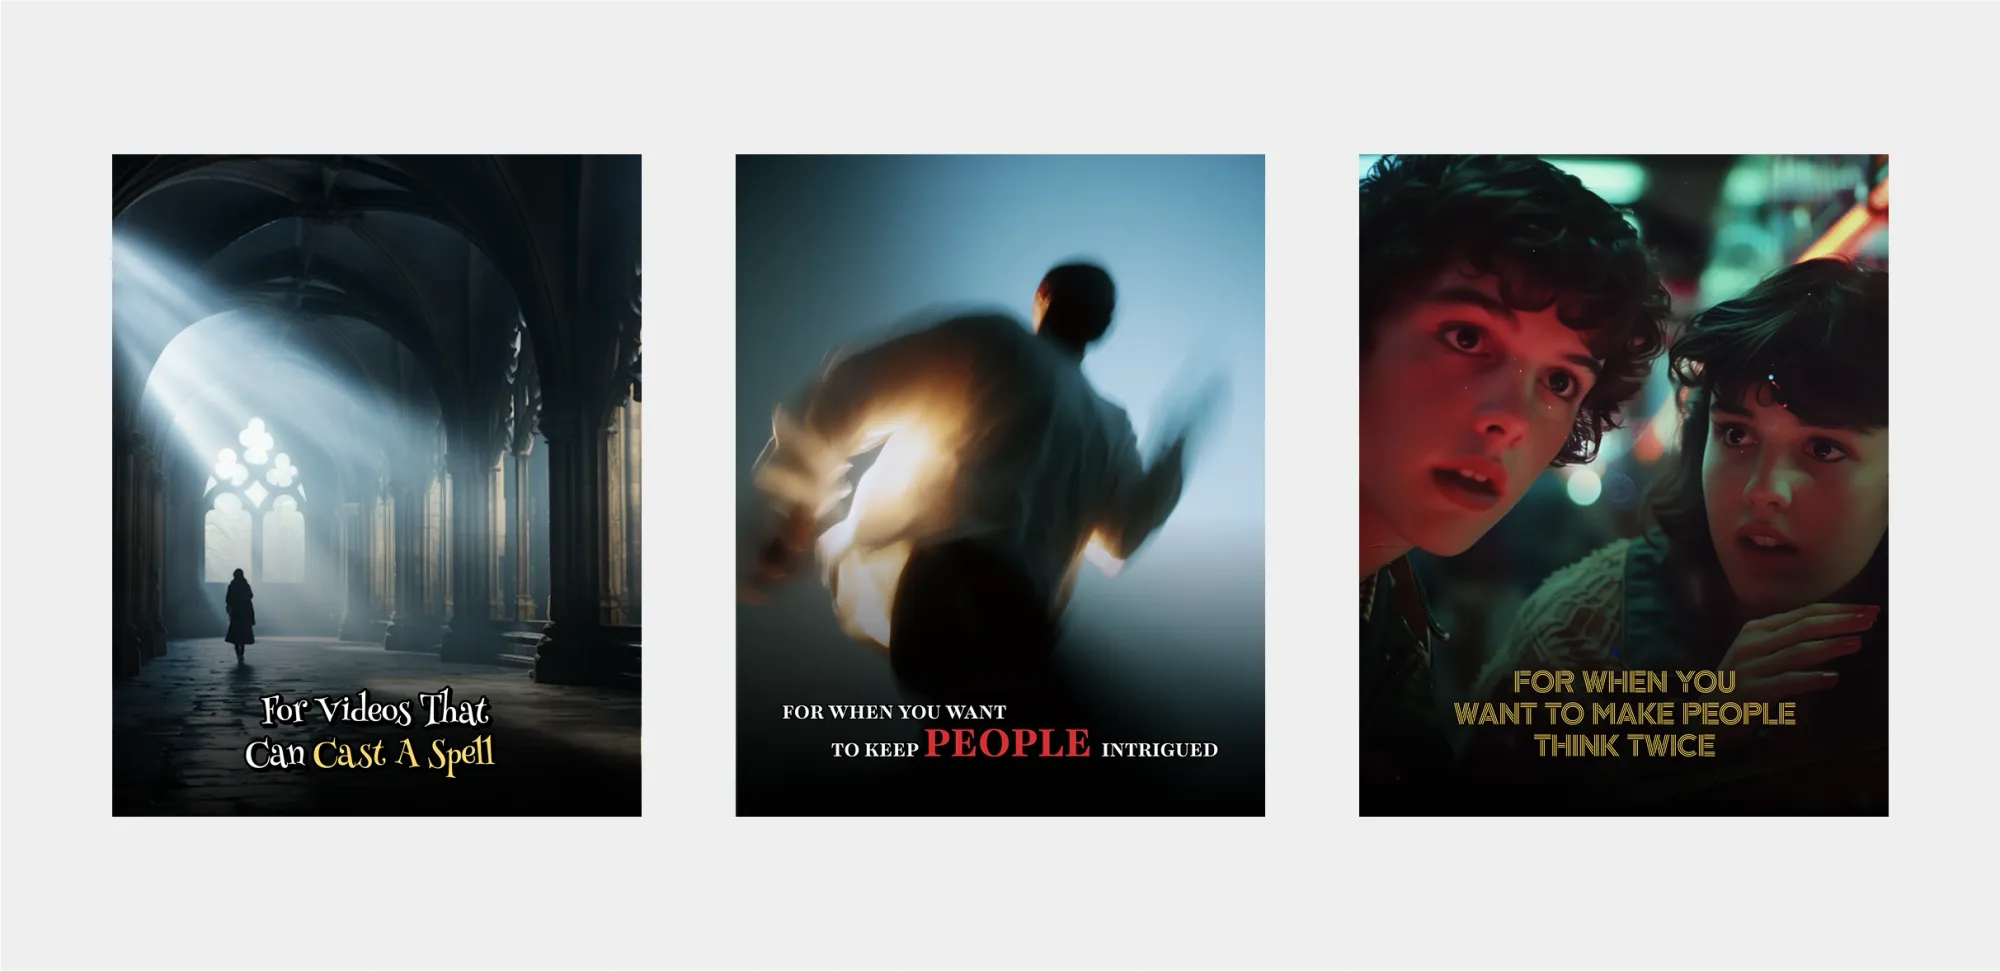
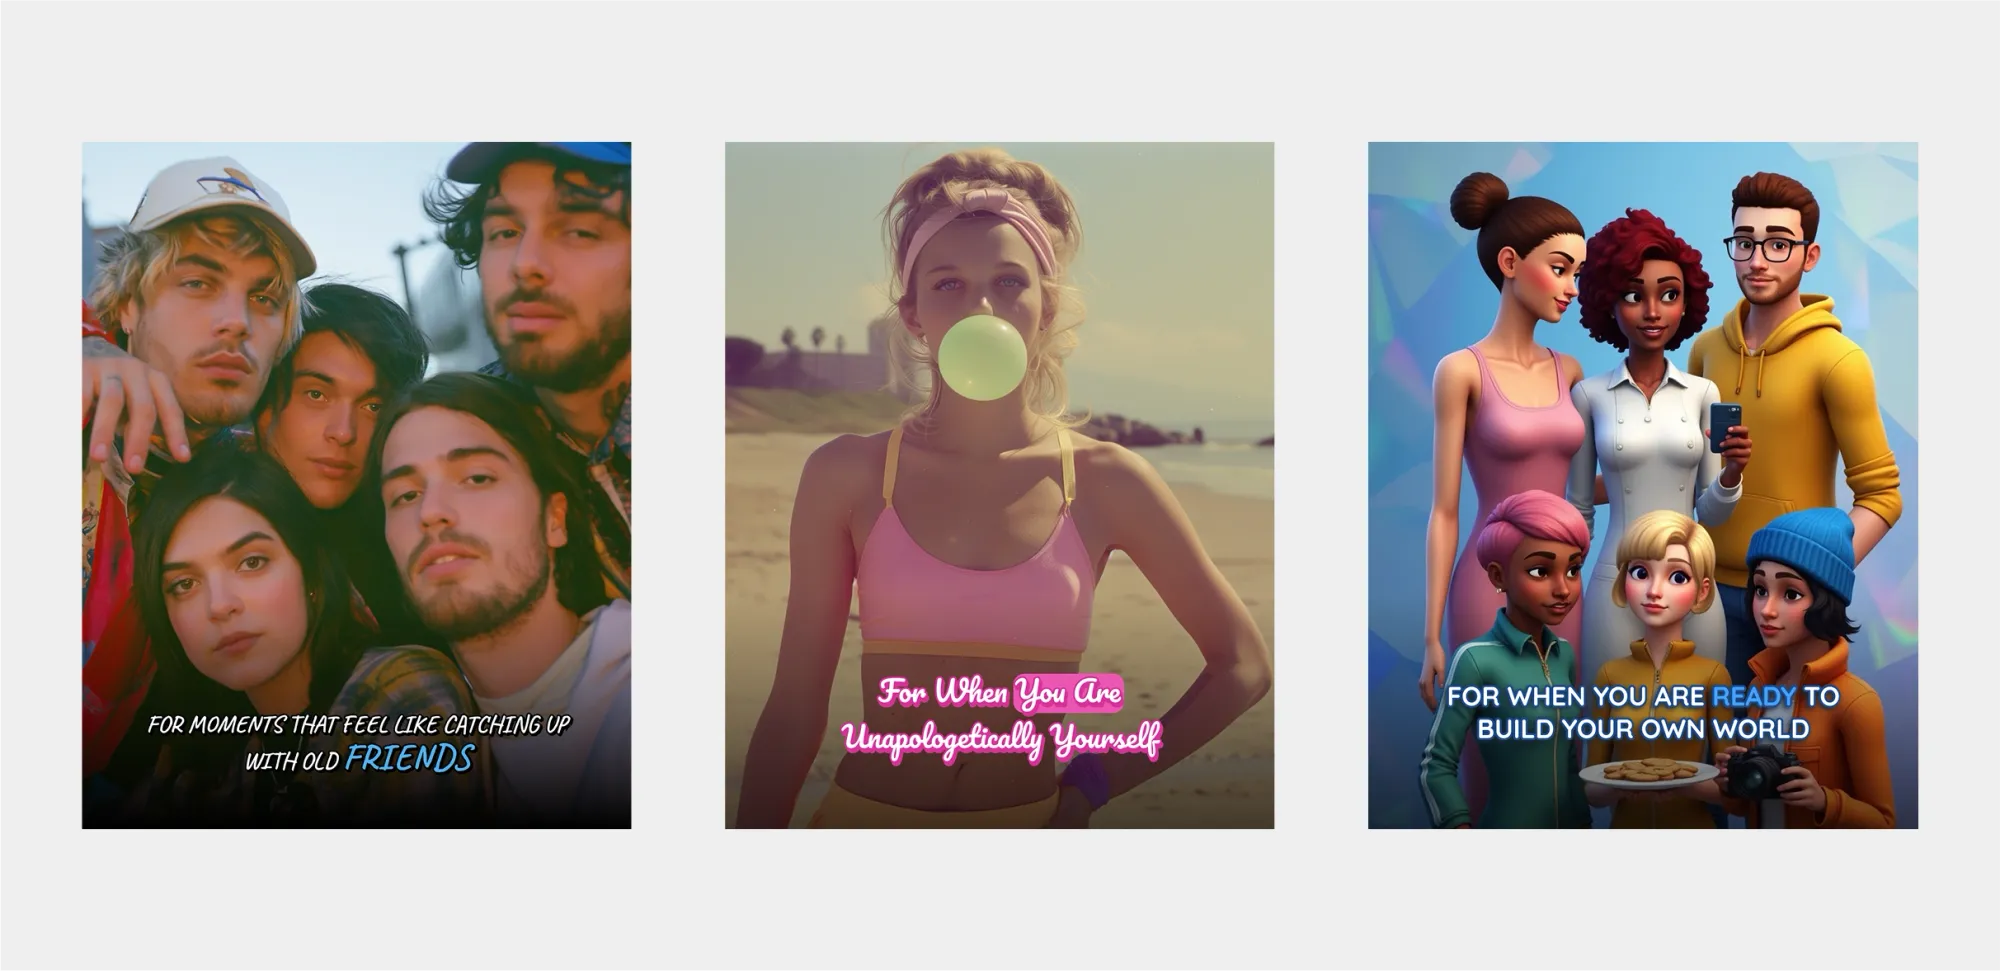
Adding subtitles doesn’t have to be complicated. From automatic tools like Podcastle, Kapwing, and VEED, to built-in features on YouTube, or even a hands-on method with VLC, you’ve got options. The best choice comes down to how much control you want and how quickly you need results.
If you’re looking for the easiest path, Podcastle stands out for its speed and simplicity. In just a few clicks, you’ll have accurate subtitles styled the way you want, ready to share with your audience. But subtitles are only one piece of what Podcastle offers. It’s a full content creation platform designed to take you from recording to publishing without ever leaving the app.
Here’s what makes our AI video editor different:
- Subtitles and captions – Add them in seconds with customizable fonts and styles.
- AI-powered editing – Enhance your audio and video automatically with one-click tools.
- AI voices – Choose from 1000+ realistic voices or clone your own for narration.
- Stock assets – Access a library of music, sound effects, visuals, and transitions to level up your content.
- All-in-one workspace – Record, edit, and export without jumping between apps.
Instead of piecing together multiple tools, Podcastle gives you everything in one place. That means less time on the technical side and more time making content that connects with your audience.


